Dopo la realizzazione della mimetica e la pittura di tutti i restanti dettagli, i lavori sul mio He-162 D sono proseguiti con le varie fasi dell’invecchiamento; scopo del quale è simulare gli effetti degli agenti atmosferici e dell’usura su un soggetto riprodotto in scala. Accumuli di sporcizia e colature di sporco sono solo parte di tutti gli effetti che si concentrano in questa fase assai delicata. Gran parte del realismo finale di un modello è, infatti, affidato ai lavori di invecchiamento. E’ il successo o meno di questa fase a determinare se un modellino rientri a giusto titolo in una riproduzione in scala o resti confinato nel variegato mondo del giocattolo.
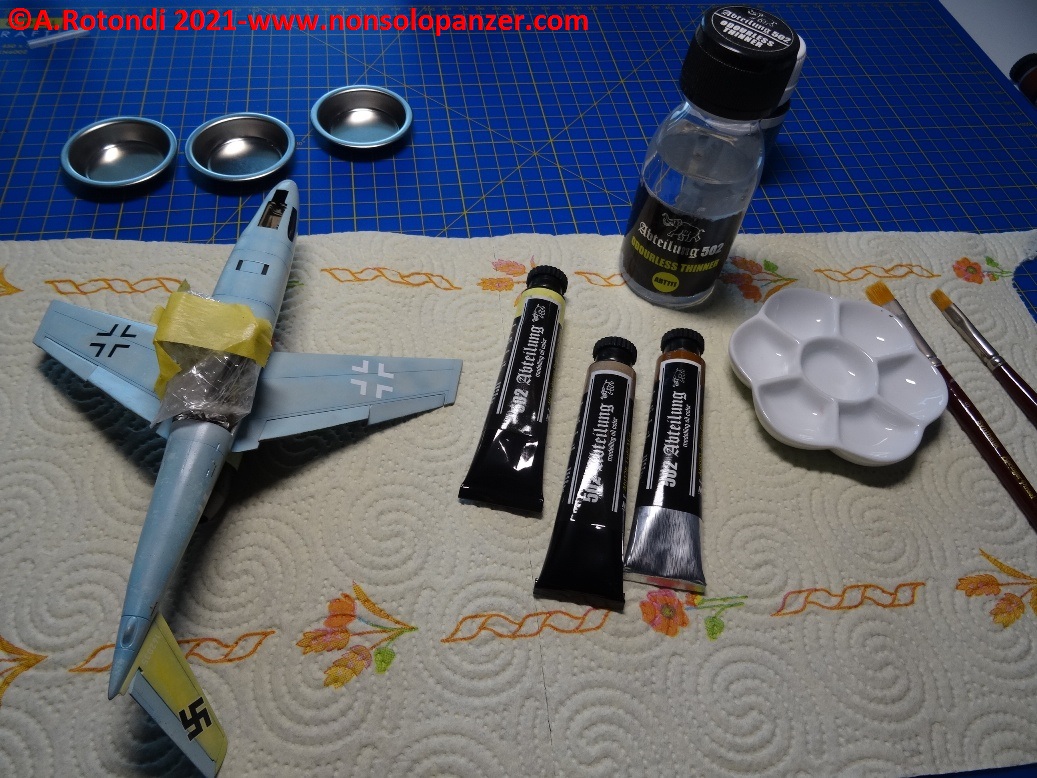
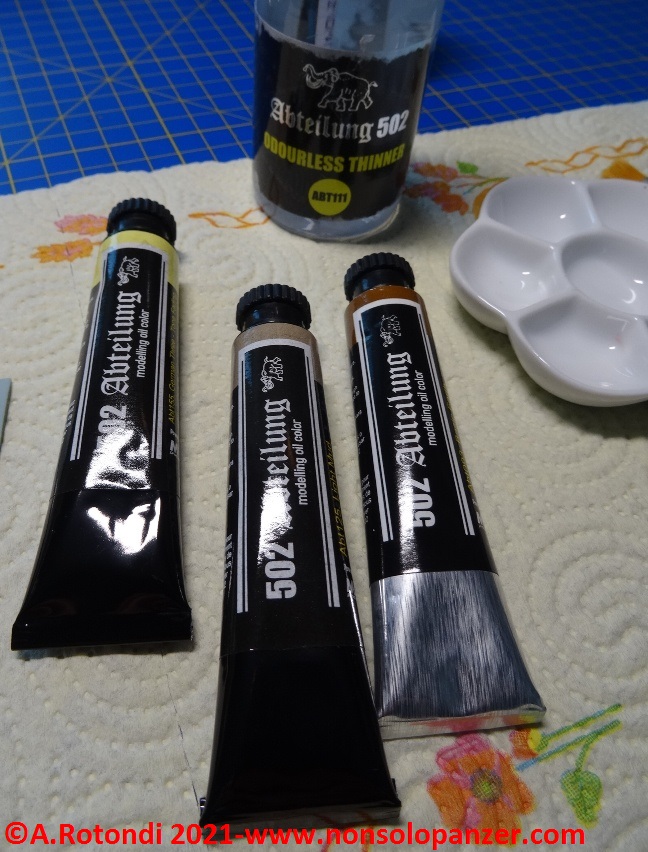
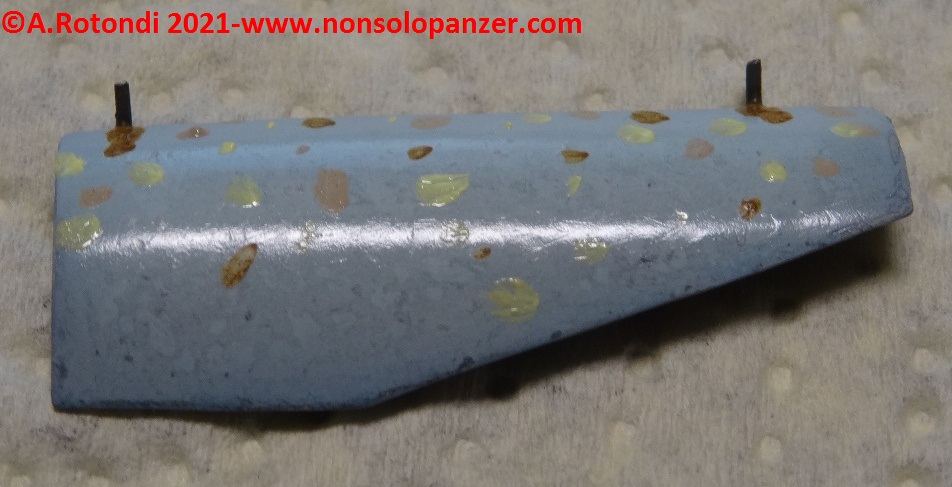
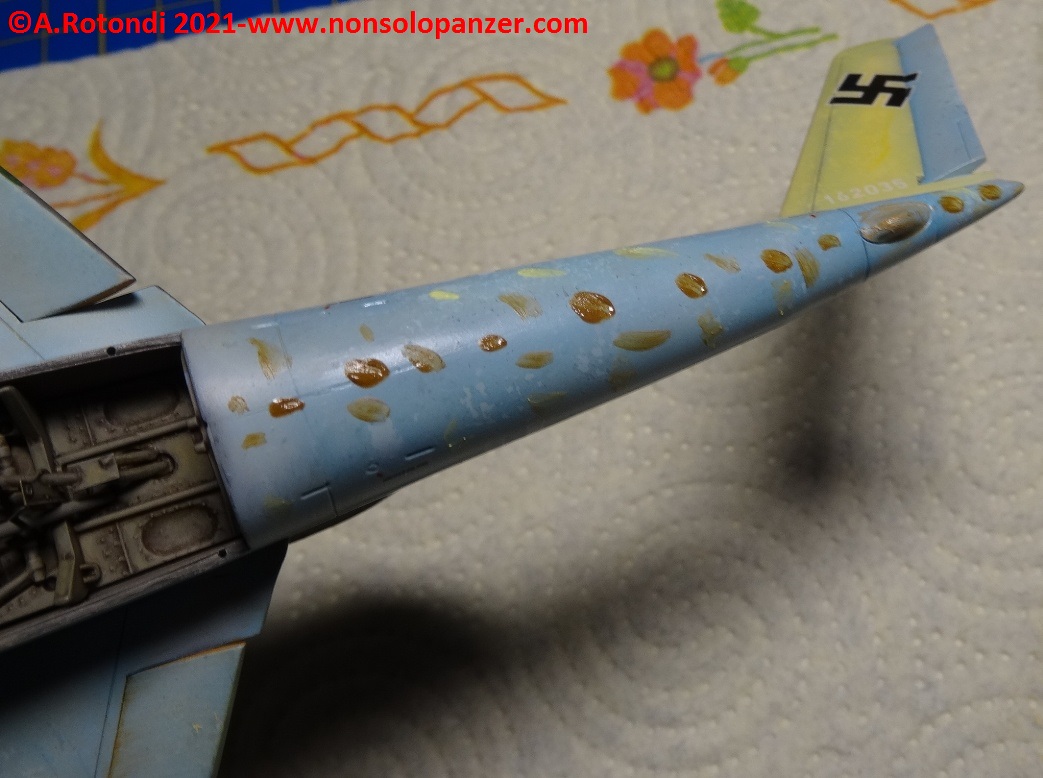
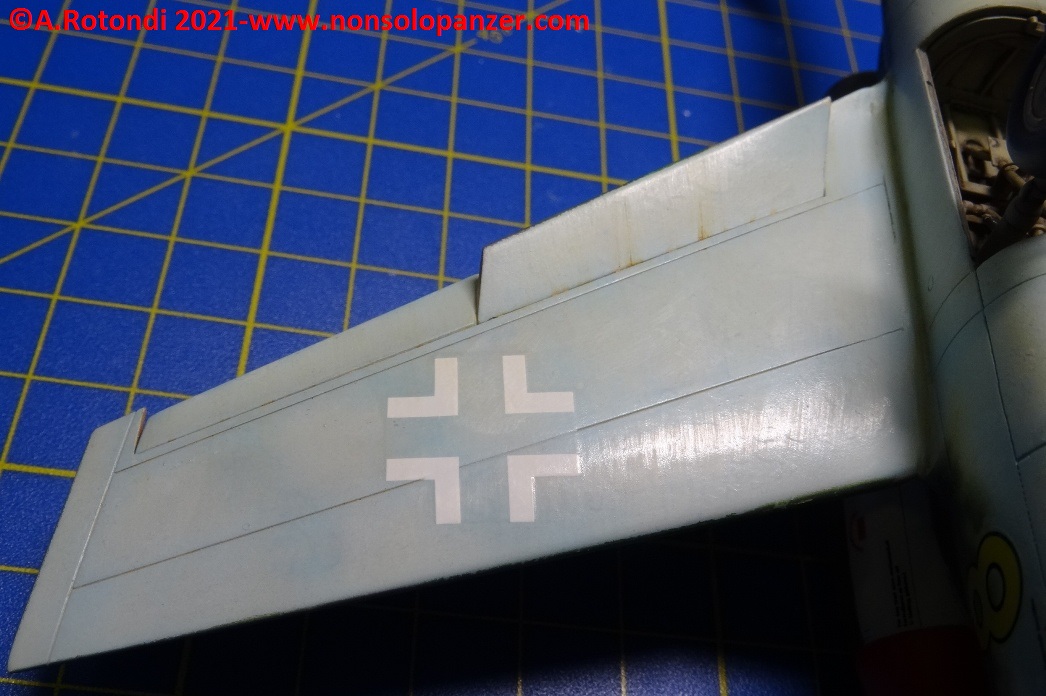
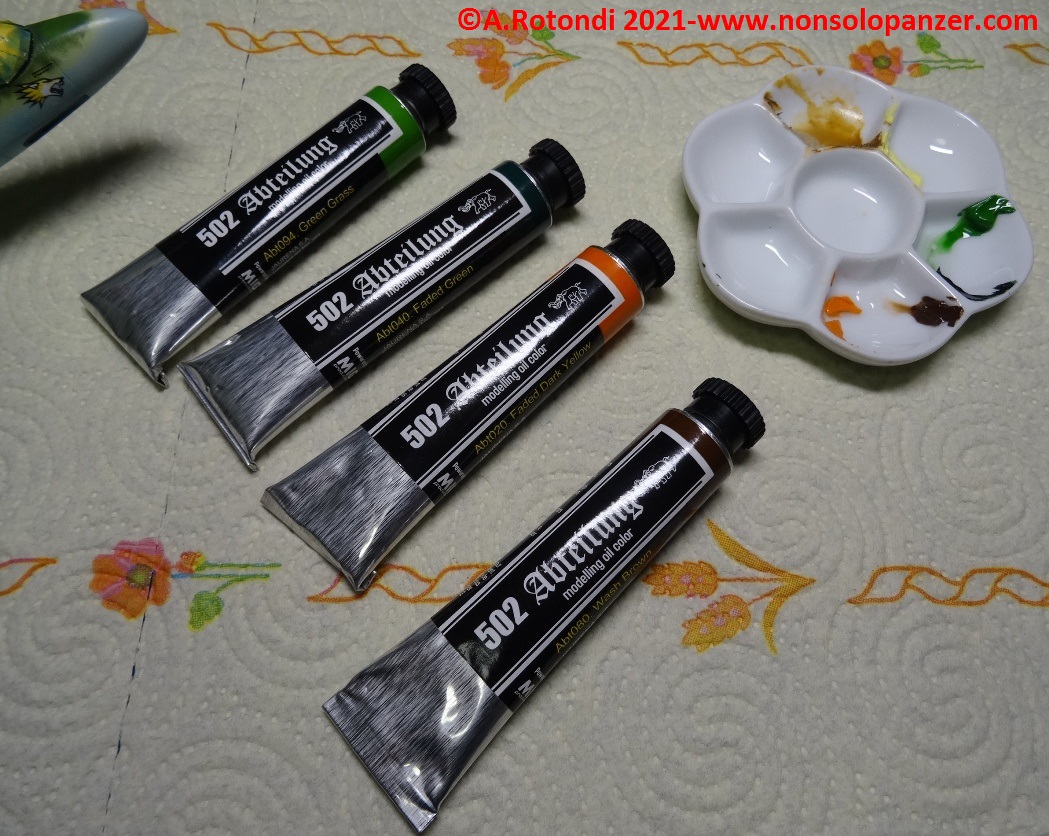
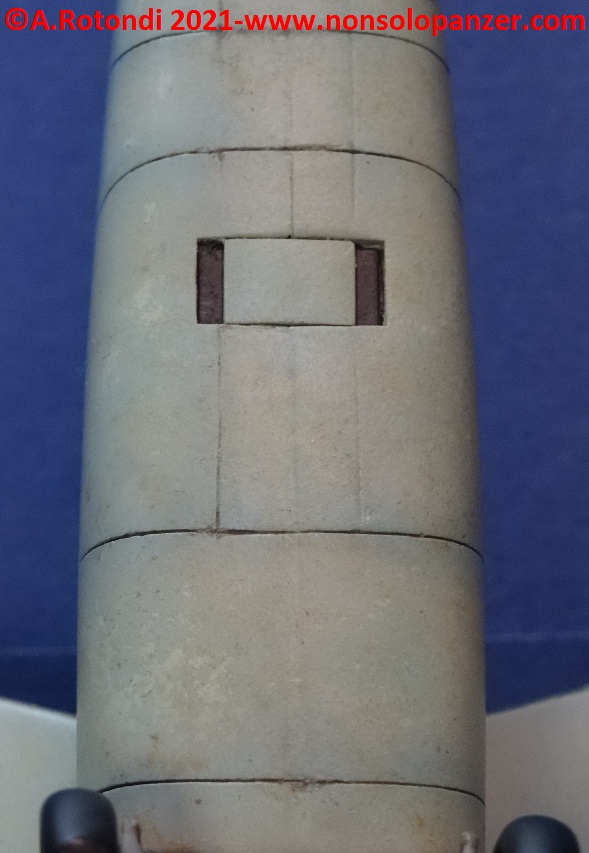
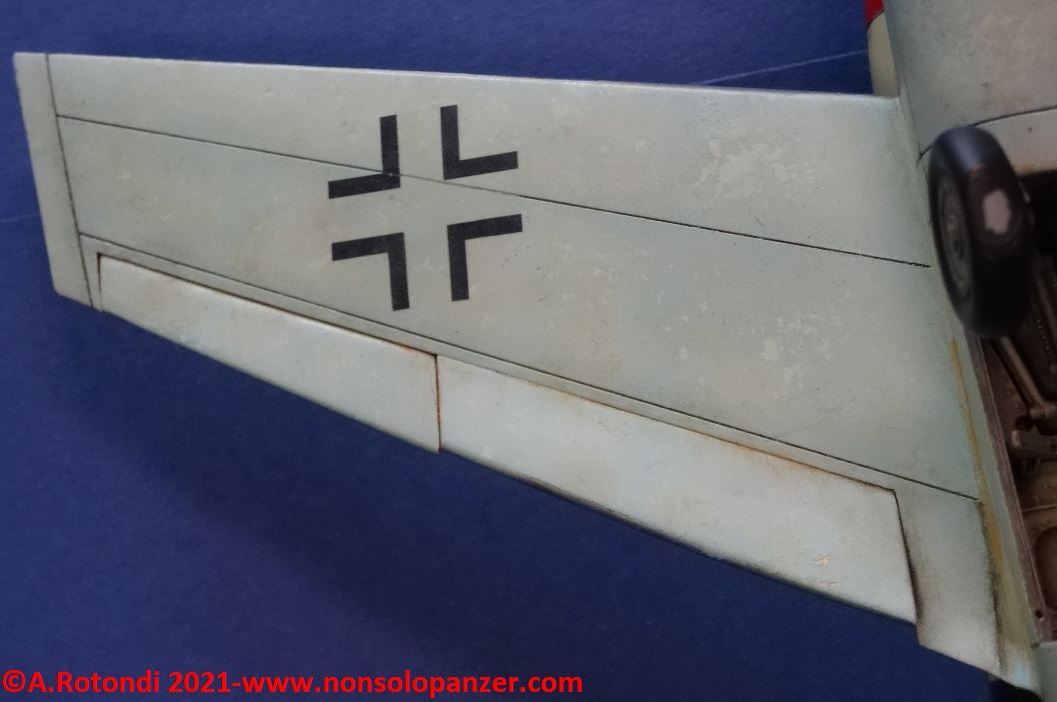
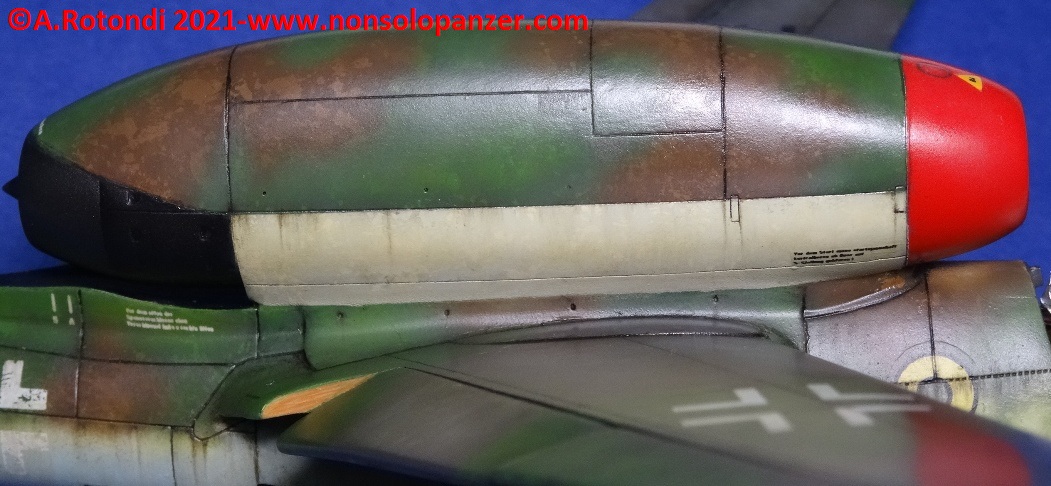
Forte della copertura lucida stesa a protezione del colore sottostante, ho iniziato con l’applicare un leggero velo di colori ad olio di varie tonalità per creare una prima sfumatura dei colori di base. Ho usato allo scopo gli olii Abteilung 502 con il relativo diluente ma nulla vieta di affidarsi anche ad altre marche purché di qualità.
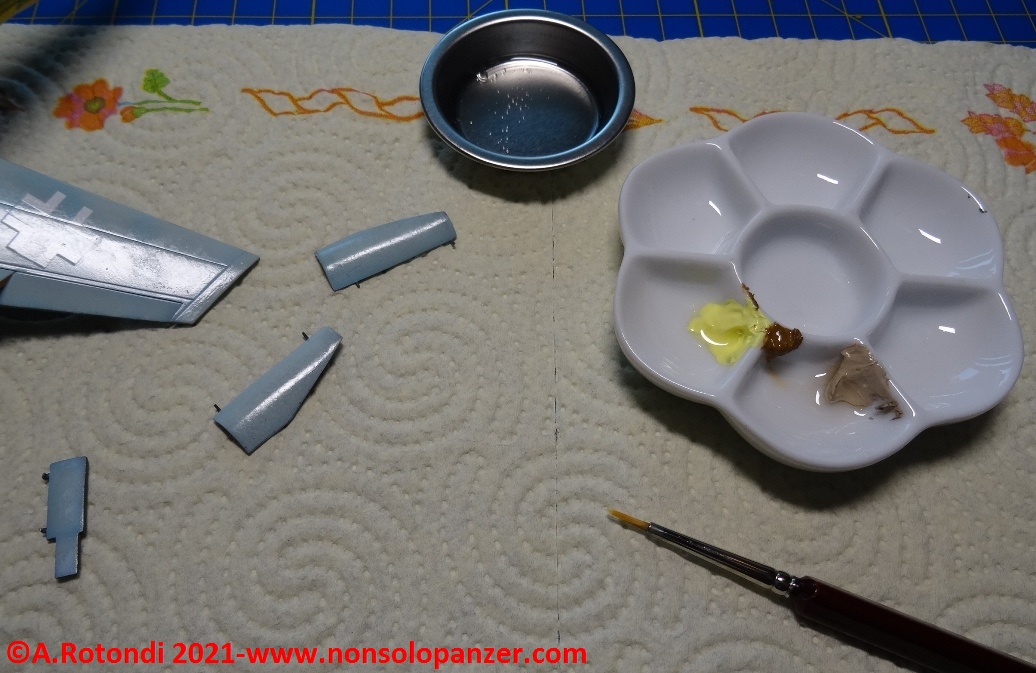
Le piccole macchie di colori ad olio sono state tirate con un pennello pulito inumidito nel diluente. E’ preferibile usare un pennello piatto dalle setole morbide avendo cura di conservare sempre un movimento dal muso verso la coda dell’aereo come se le setole seguissero il movimento dell’aria sul velivolo.
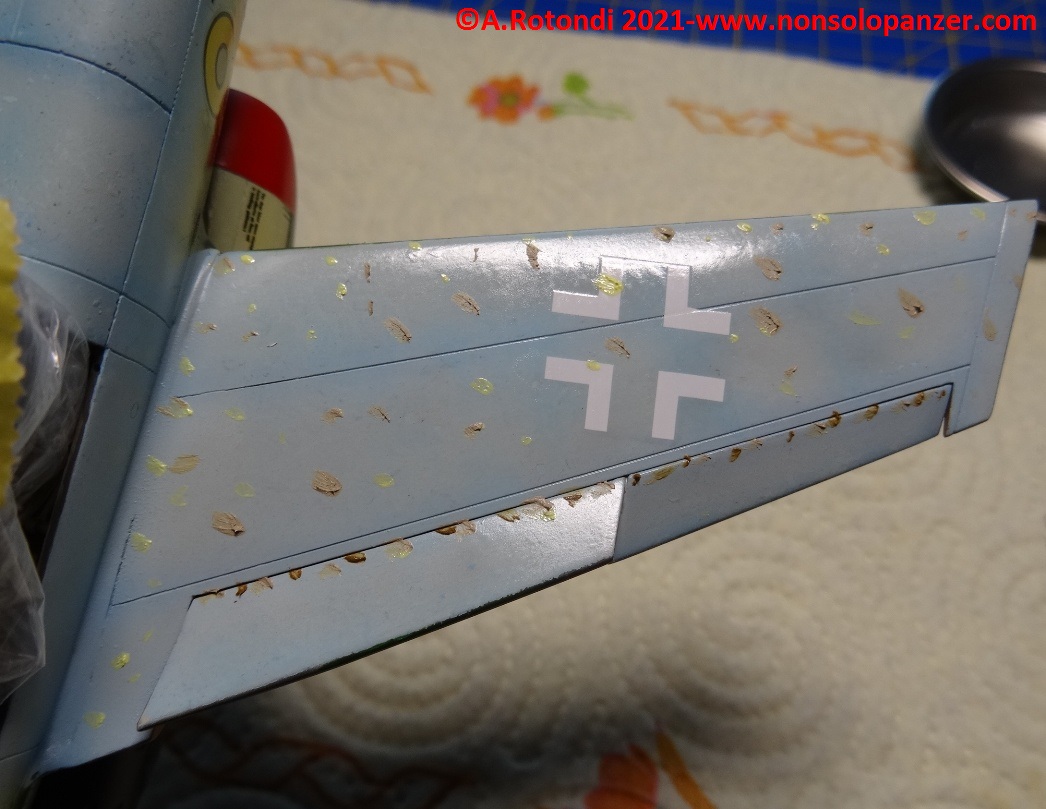
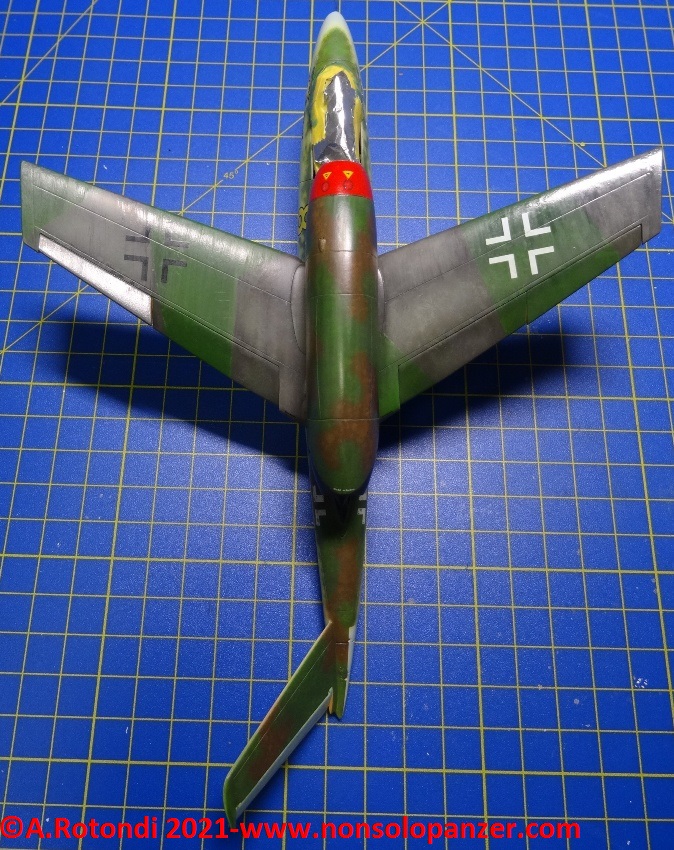
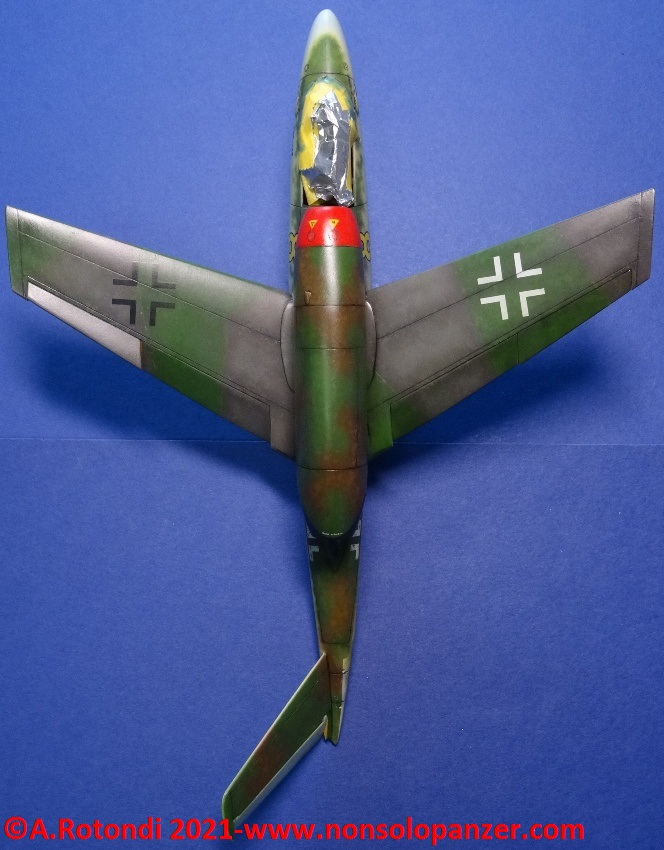
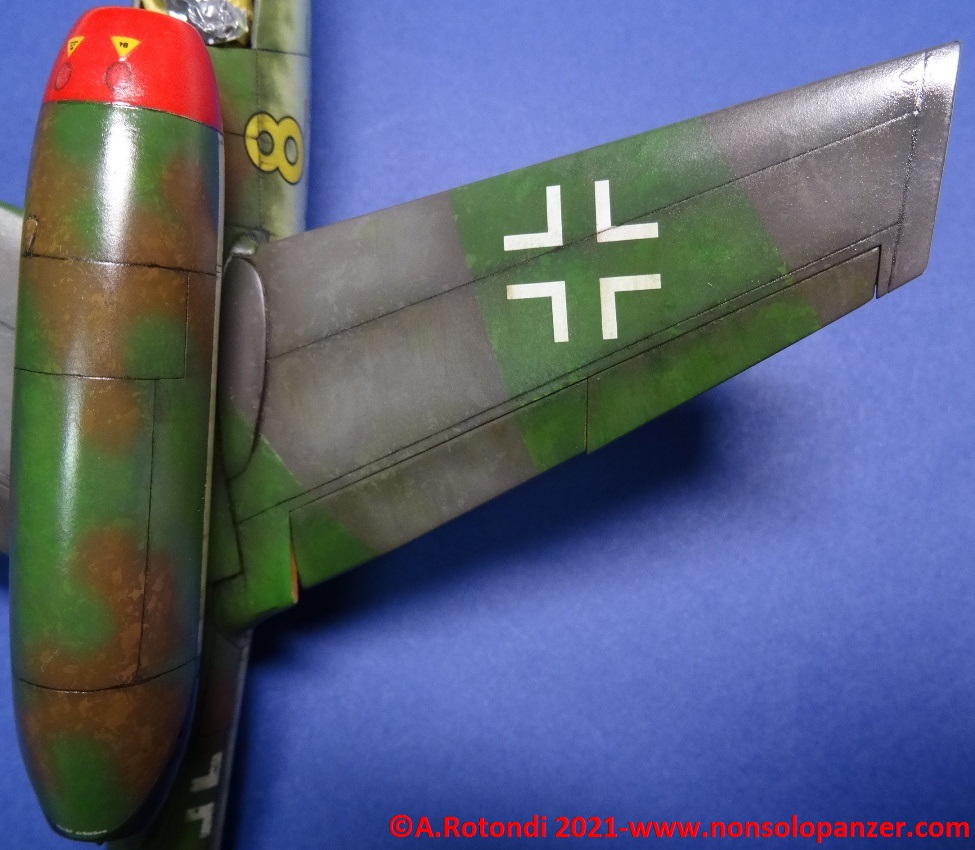
La stessa procedura è stata replicata sulle superfici superiori del caccia utilizzando, però, dei colori coerenti con la mimetica applicata.

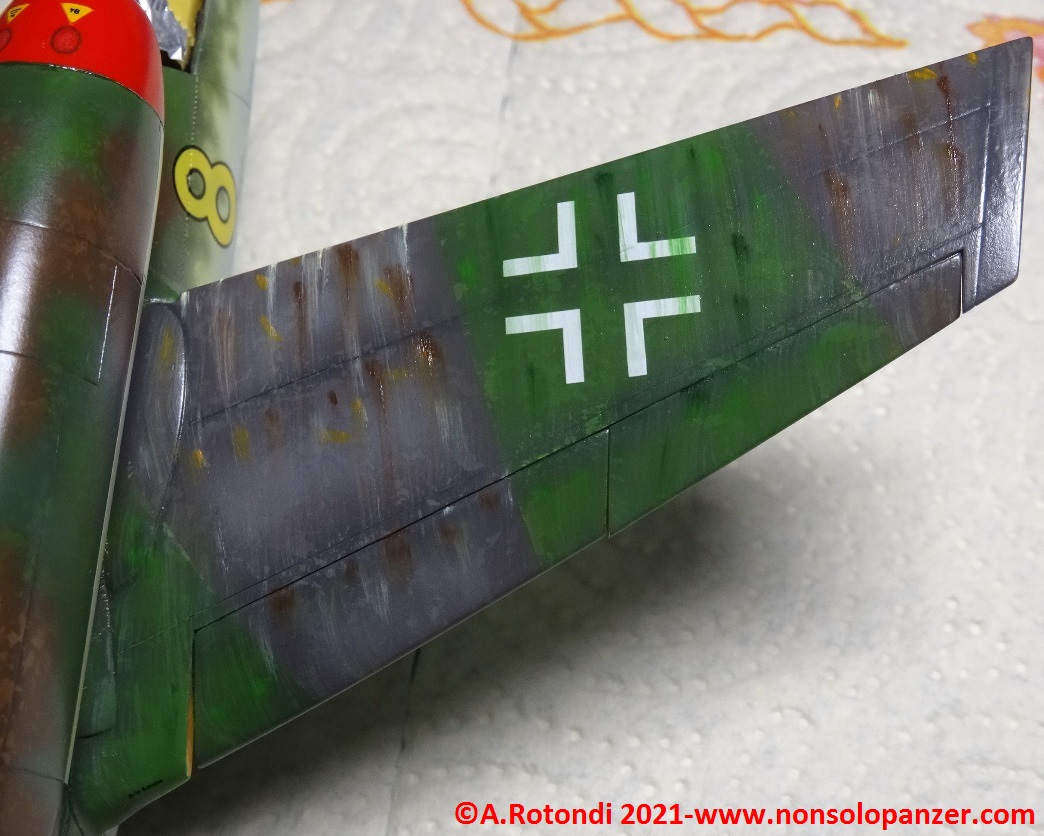
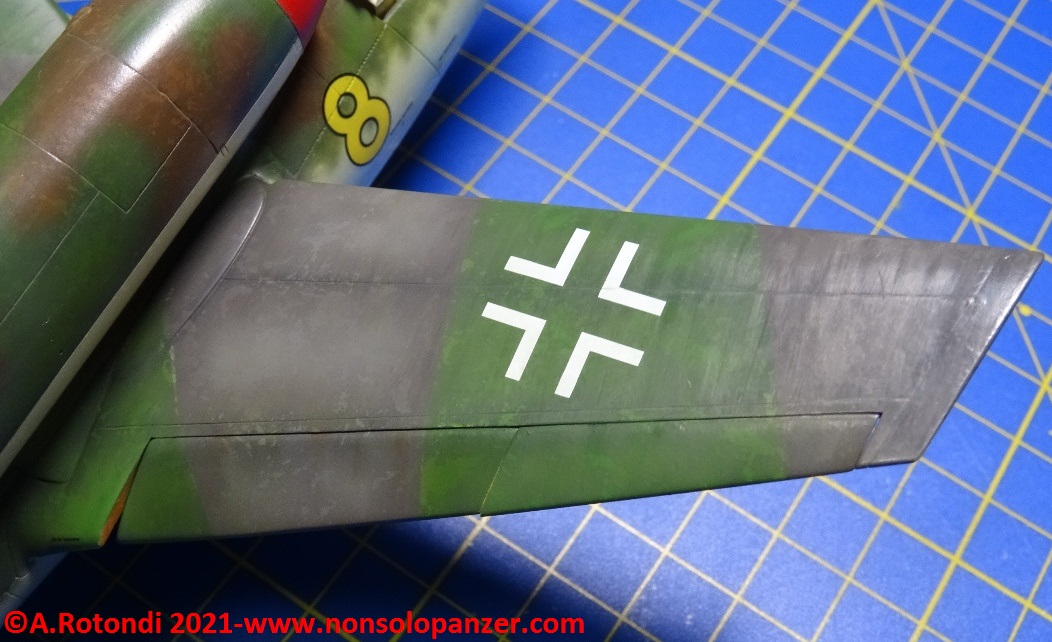
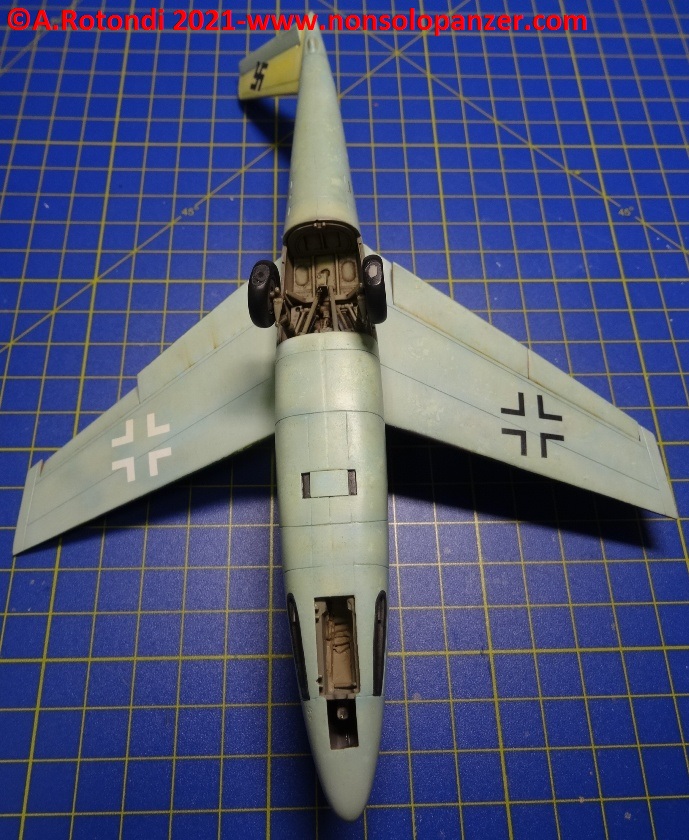
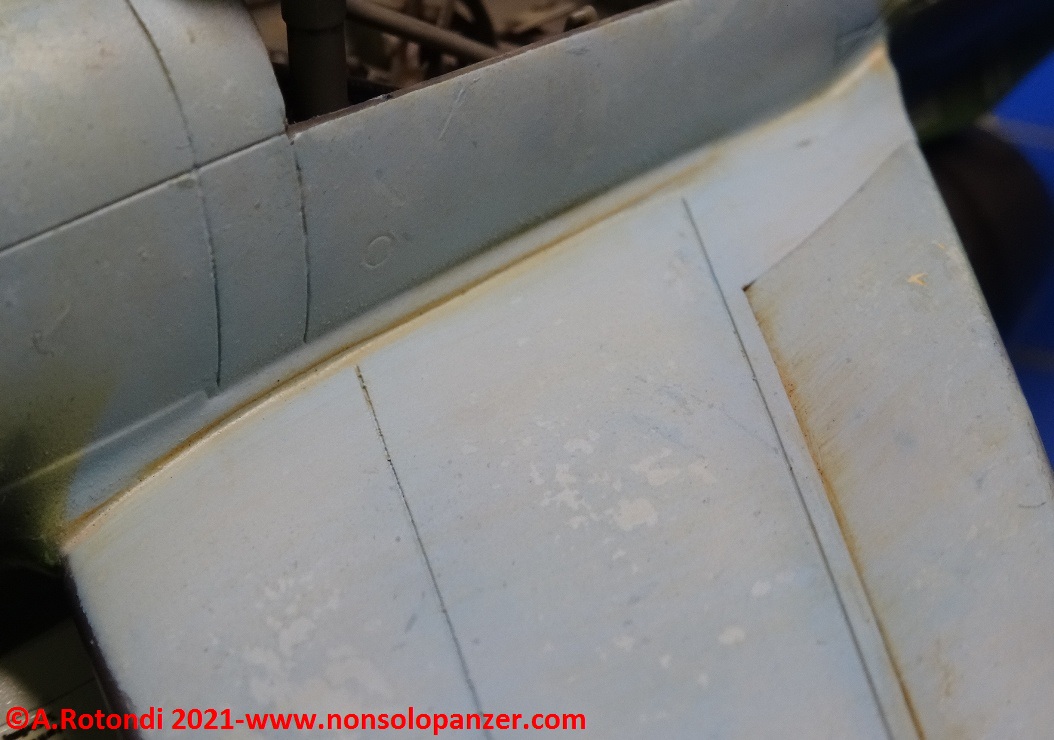
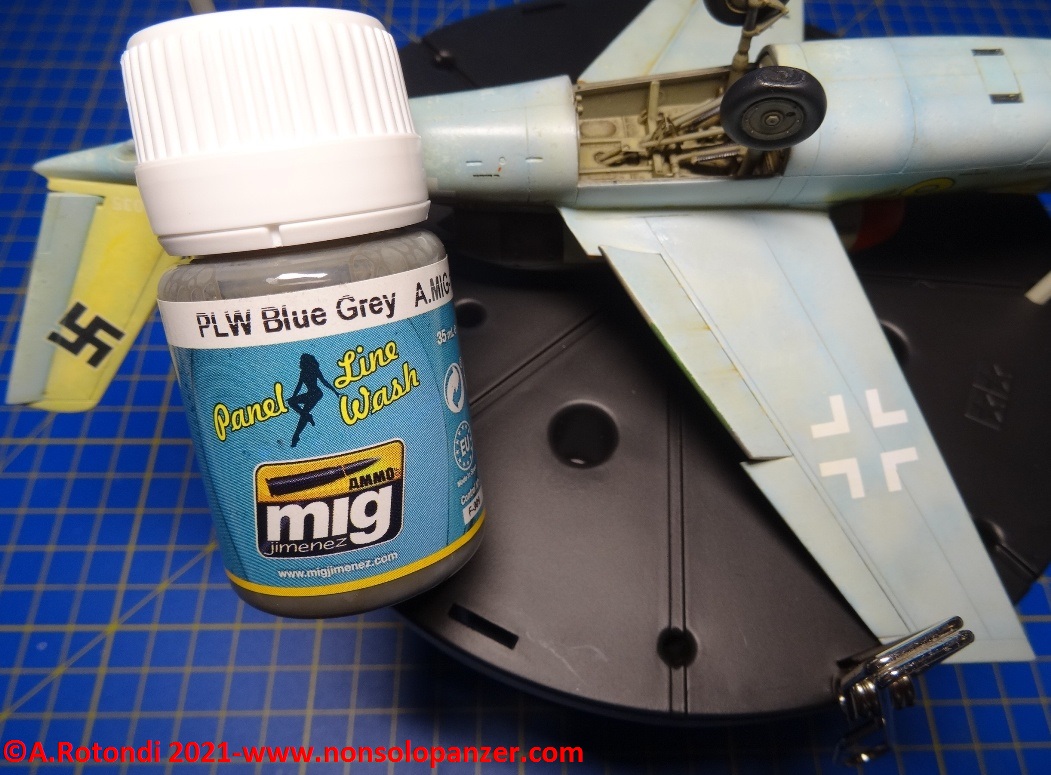
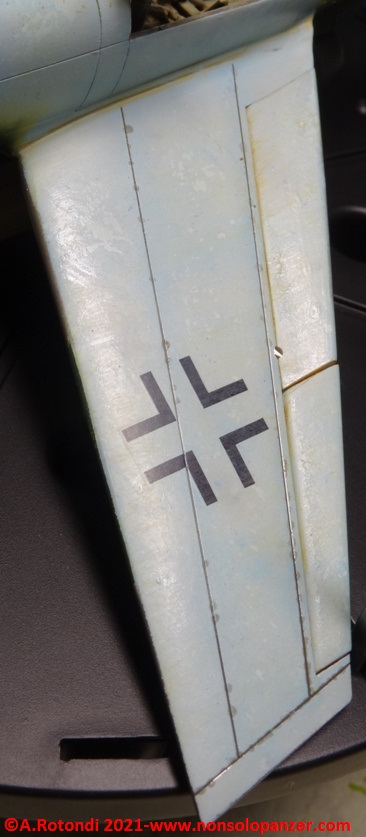
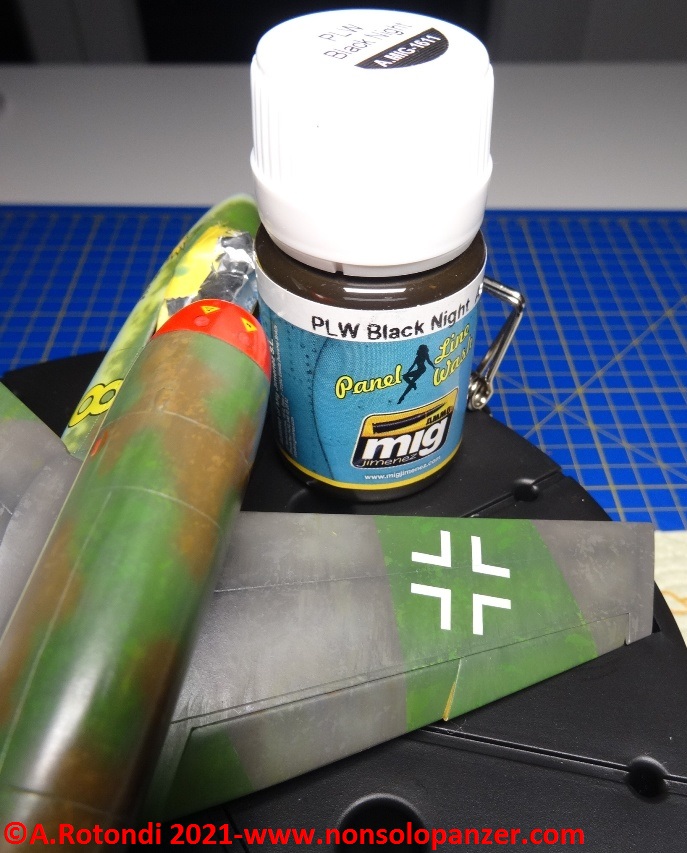
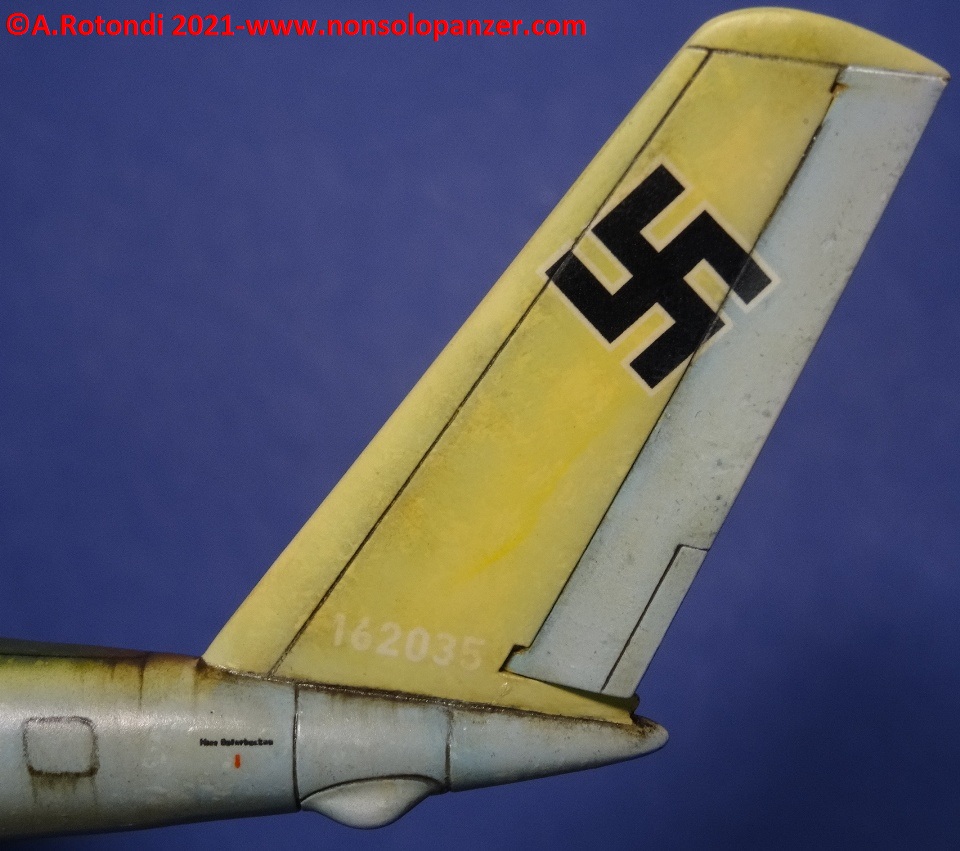
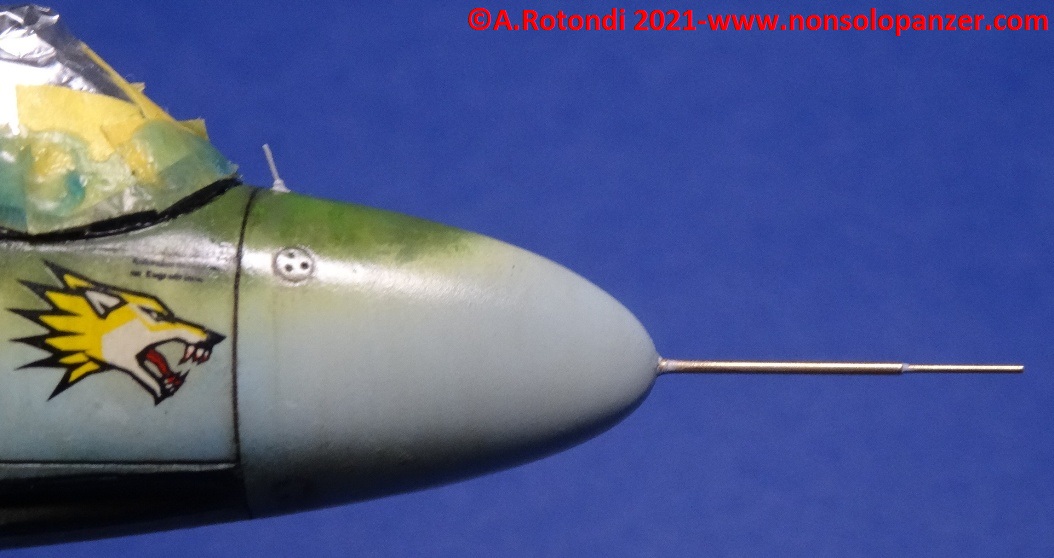
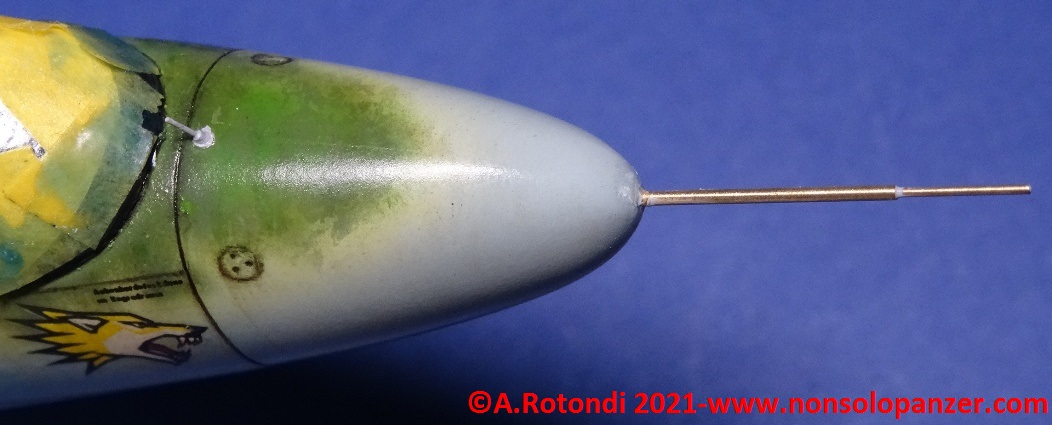
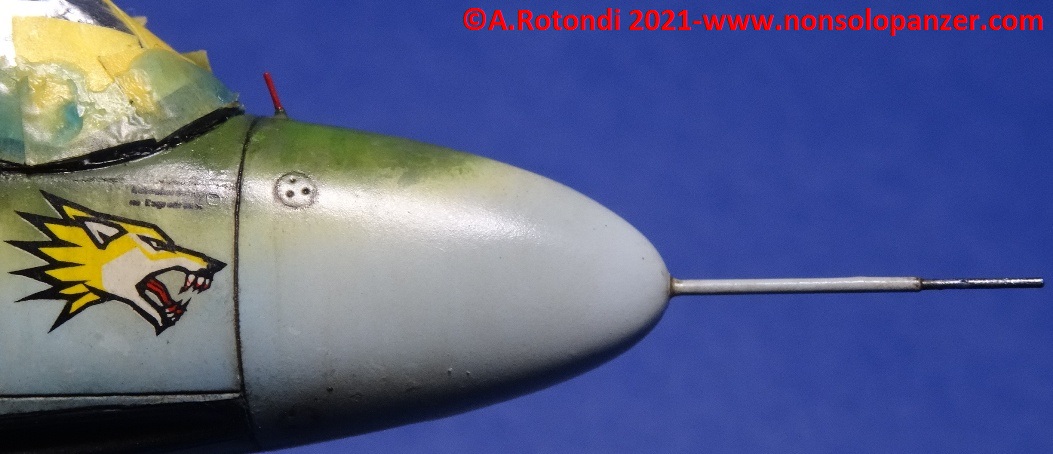
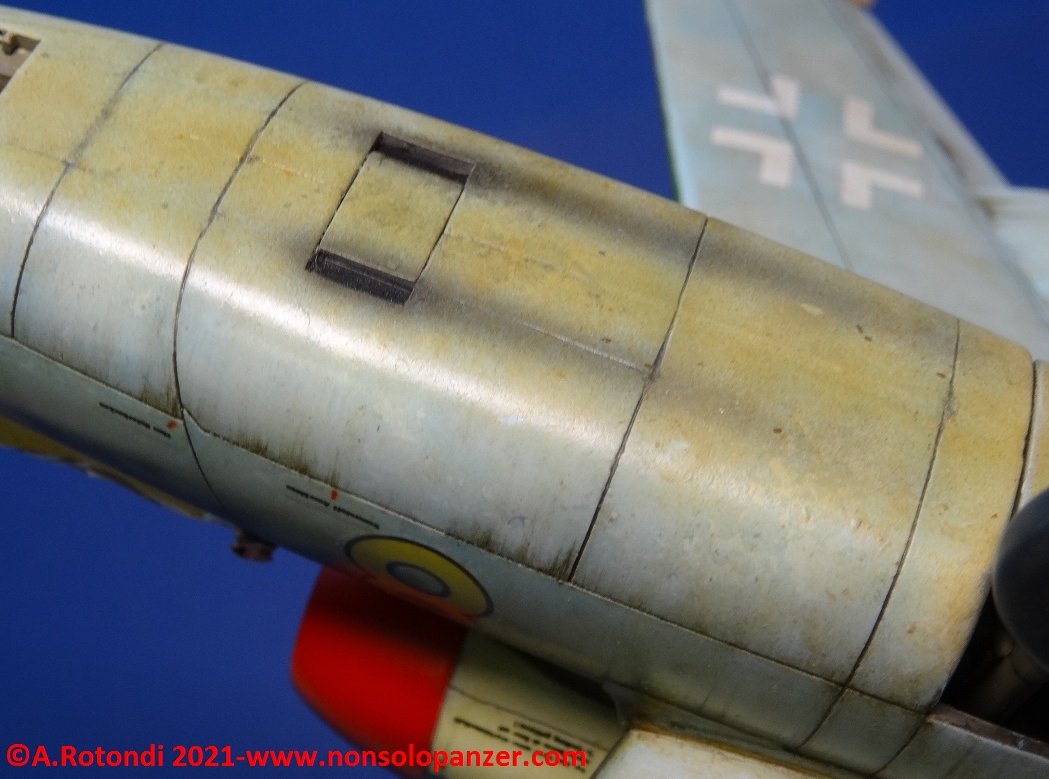
Nello step successivo ho evidenziato le linee di giunzione delle pannellature utilizzando i Panel Line Wash della Ammo Mig in due distinte tinte: il Blue Gray per le superfici inferiori ed il Black Night per quelle superiori. Salve le problematiche create dalla scarsa profondità delle incisioni sul motore in resina Jumo-004 della Antares Models e da alcune imprecisioni di stampo o di stuccatura, il lavoro è stato molto semplice dovendo semplicemente lasciare che i Panel Line Wash si distendano per capillarità. Le eccedenze possono essere facilmente eliminate con un pennello pulito inumidito del diluente.
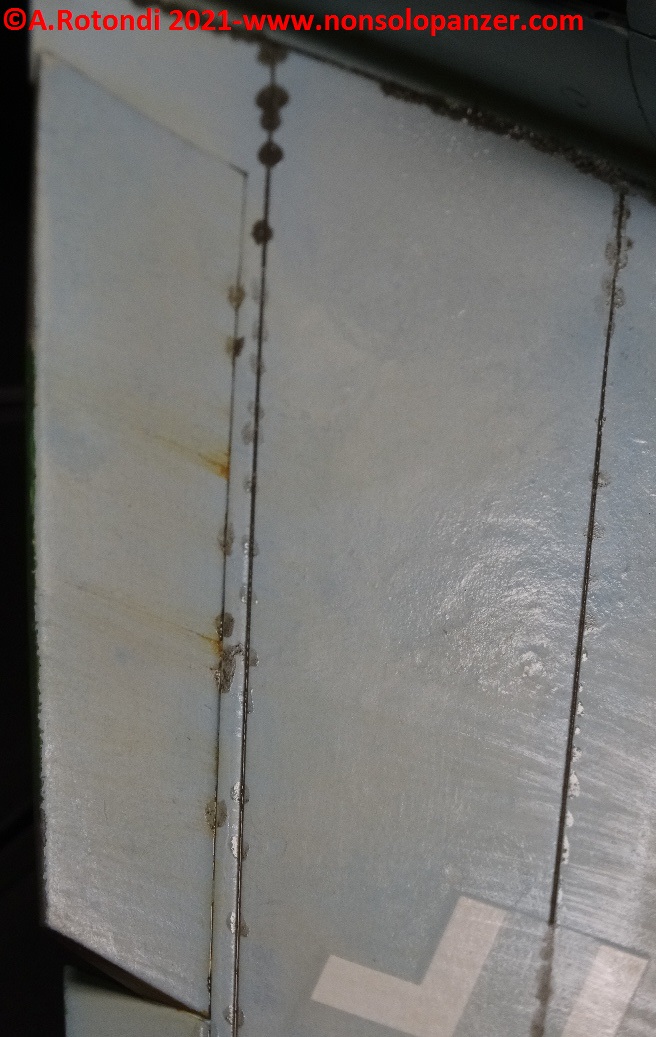
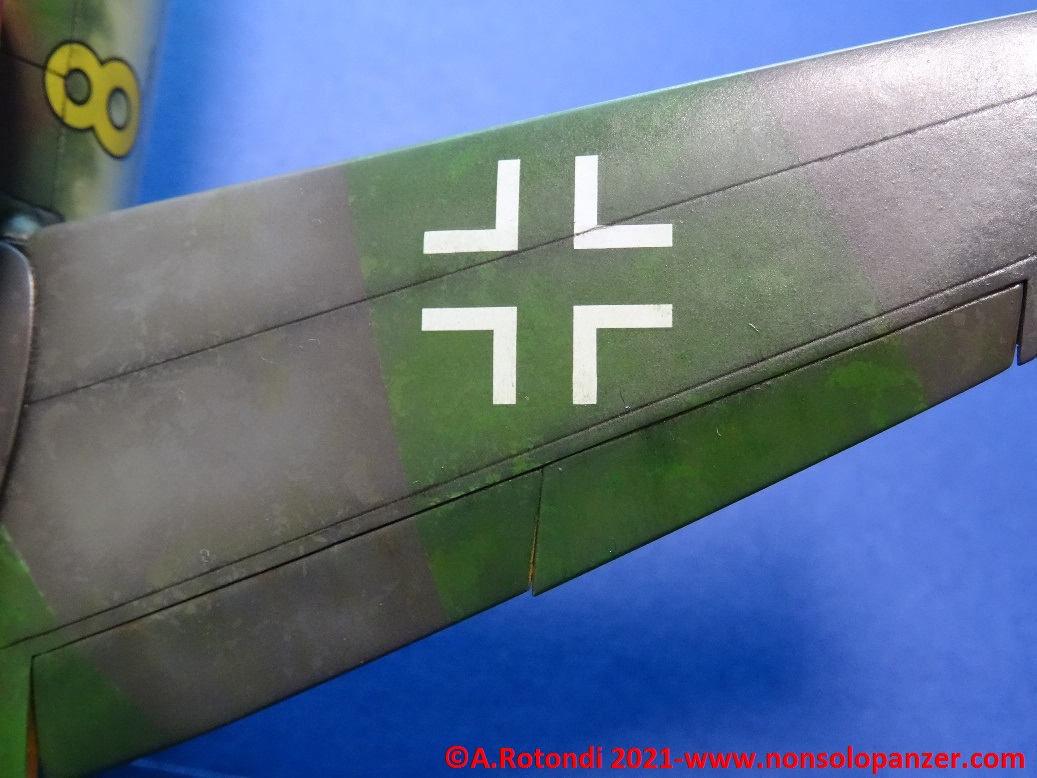
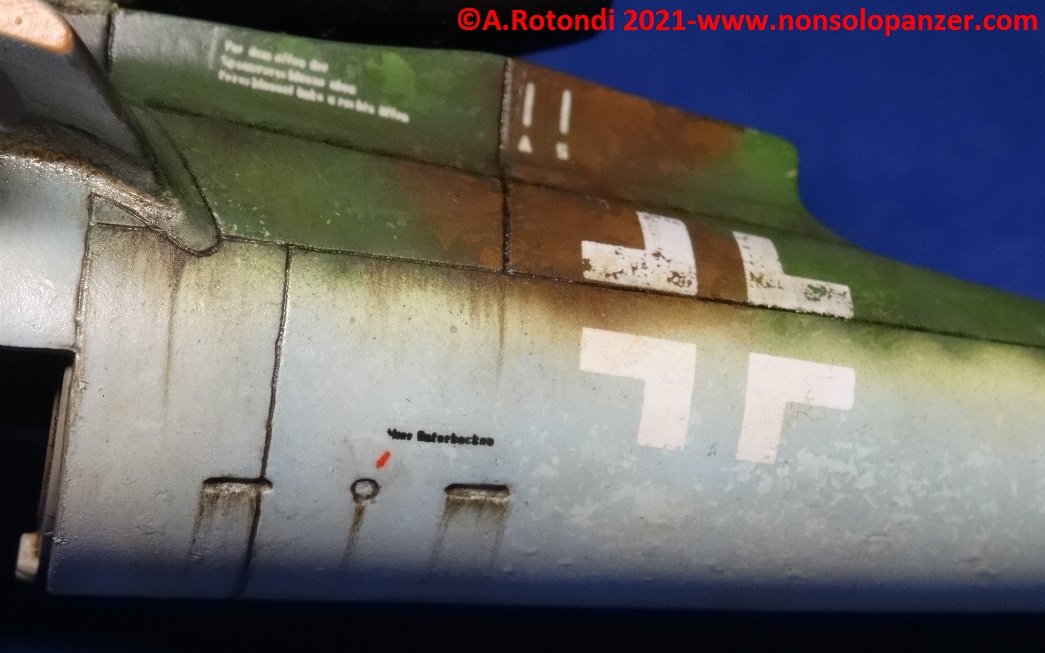
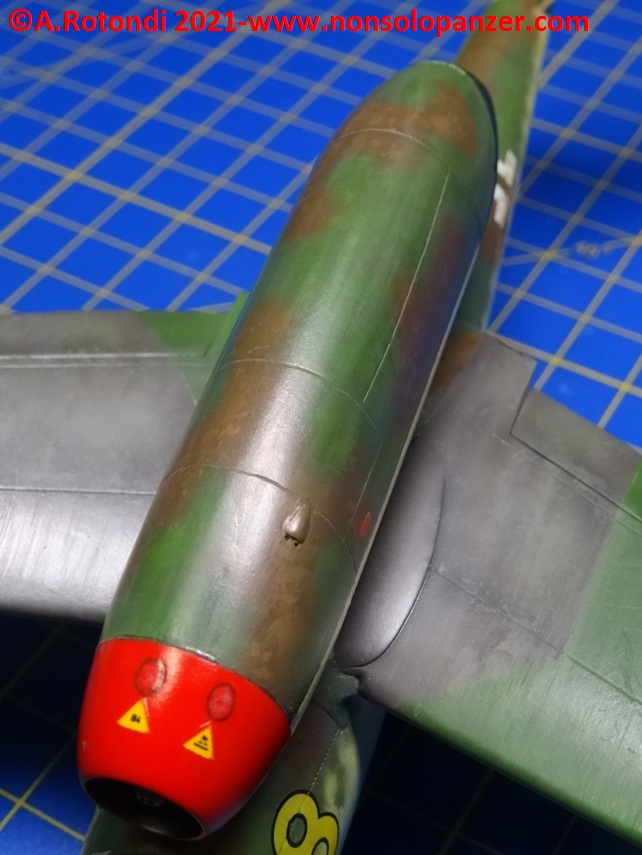
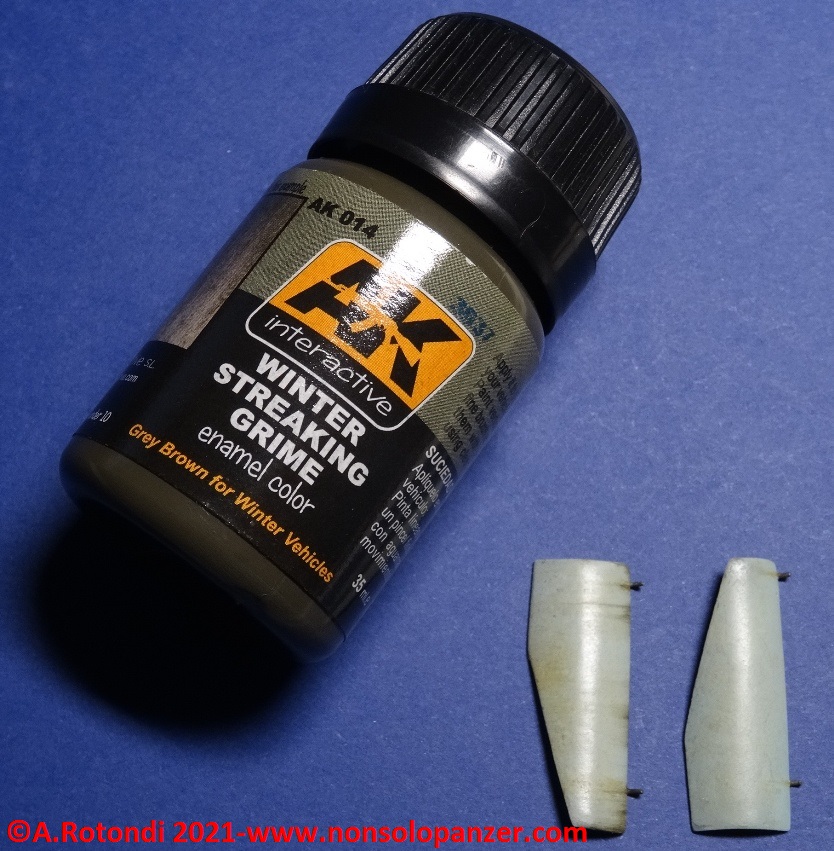
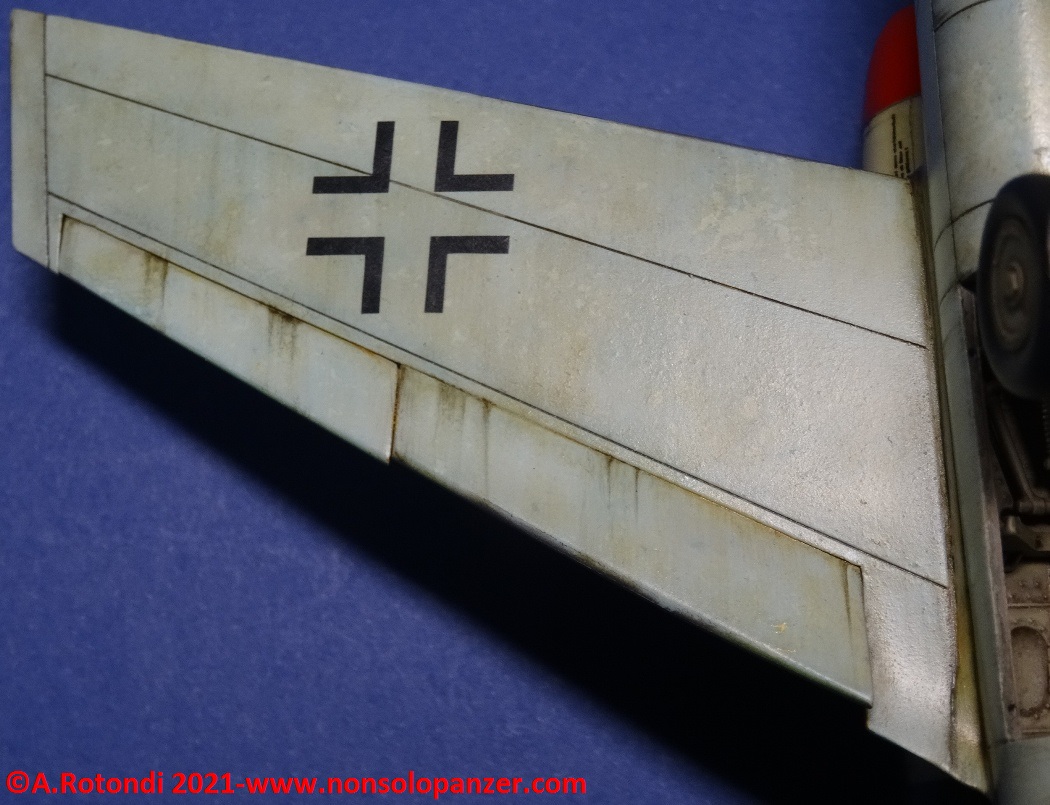
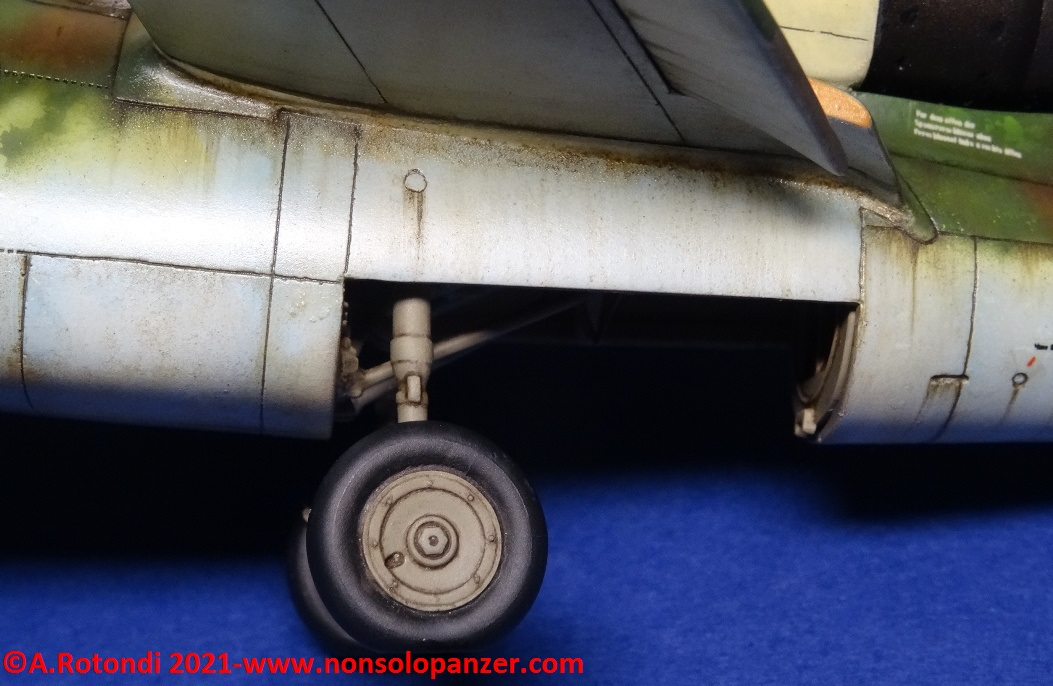
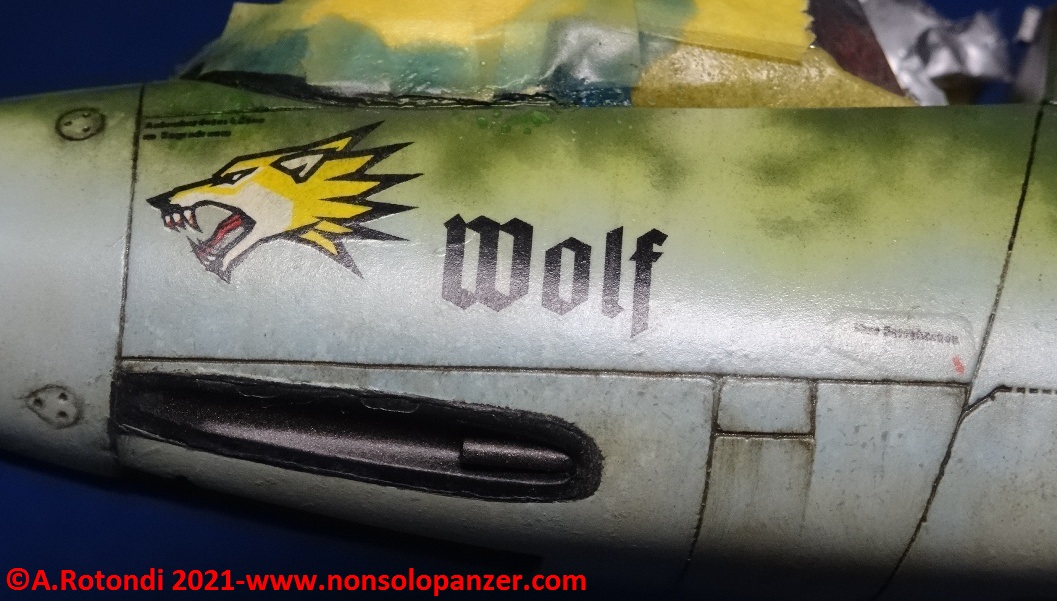
Se i Panel Line Wash sono prodotti facilmente rimpiazzabili diluendo abbondantemente dei colori ad olio dalle tinte simili, devo invece ammettere di essere stato molto piacevolmente sorpreso dal Winter Streaking Grime della AK Interactive. Premesso che si tratta ufficialmente di un articolo destinato all’invecchiamento dei messi corazzati, ho optato per questo prodotto giudicandone l’effetto consono anche per il mio aereo. Con una facilità onestamente inaspettata, ho simulato le colature di sporco dovute alla pioggia ottenendo un risultato che giudico molto buono.
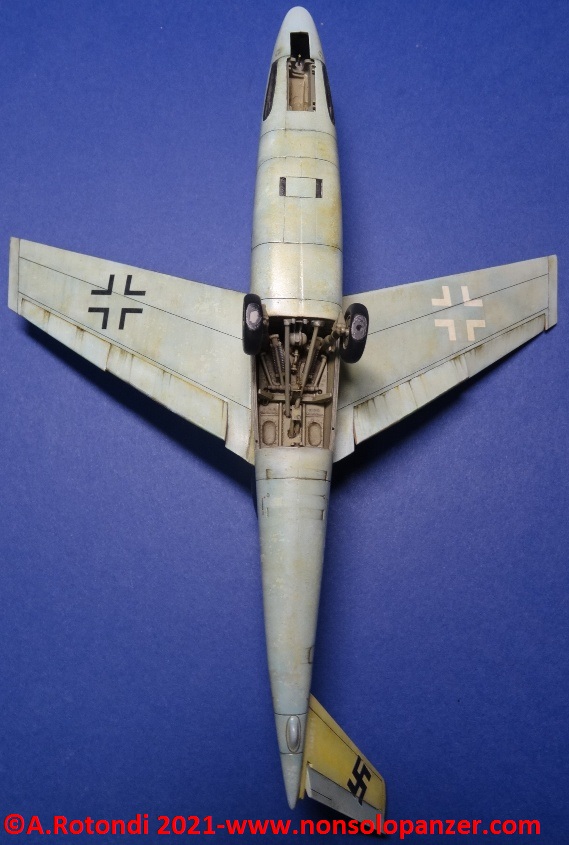
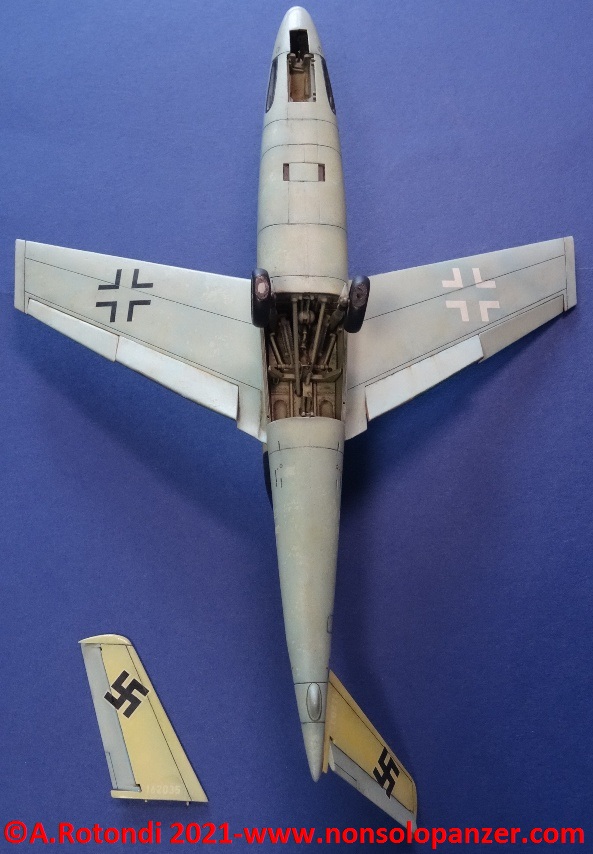
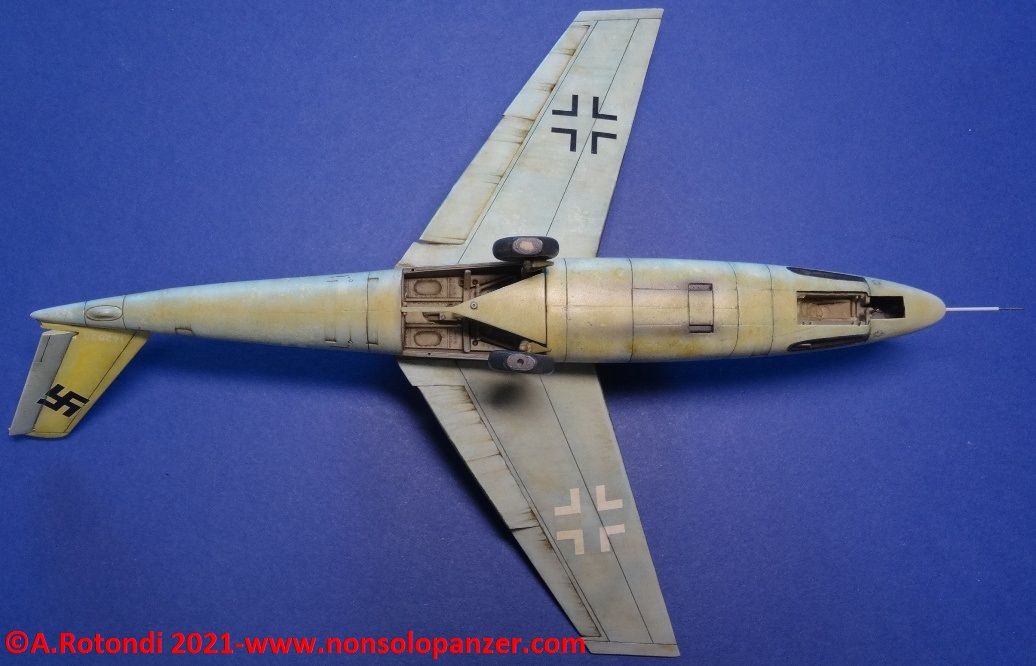
Ho concluso aggiungendo gli ultimi elementi mancanti e simulando con l’aerografo l’effetto provocato sul fondo della fusoliera da polveri e terriccio sollevati in fase di decollo/atterraggio nonché l’annerimento dovuto ai fumi espulsi insieme ai bossoli.
A questo punto non manca che stendere il coprente opaco per mettere fine ai lavori su questo He-162 D. Mostrerò il risaltato di quest’ultimo passaggio nel prossimo articolo.
English Language
After the painting of the camouflage and all the remaining details, the works on my He-162 D are continued with the various phases of weathering; the purpose of which is to simulate the effects of atmospheric agents on a subject reproduced in scale. The accumulations of dirty are only part of all the effects that are concentrated in this very delicate phase. Much of the final realism of a model is, in fact, entrusted to the weathering. It is the success or not of this phase to determine if a model is rightly included in a scale reproduction or remains confined in the varied world of the toys.
Thanks to the glossy cover spread to protect the color below, I started by applying a thin layer of oil paints of various shades to create a first shade of the basic colors. I used for this purpose the Abteilung 502 oils with its thinner but nothing prevents you from relying on other quality brands.
The small stains of oil colors were drawn with a clean brush dampened in thinner. It is preferable to use a flat brush with soft bristles, taking care to maintain a movement from the nose to the tail of the aircraft as if the bristles were following the movement of the air over the aircraft. The same procedure was replicated on the upper surfaces of the fighter aircraft using colors consistent with the camouflage applied.
In the next step I have highlighted the lines of junction of the panels using the Panel Line Wash by Ammo Mig in two different colors: Blue Gray for the lower surfaces and Black Night for the upper ones. Save the problems created by the shallow depth of the engravings on the resin engine Jumo-004 by Antares Models and some inaccuracies of the mold, the work was very simple by letting the Panel Line Wash spread by capillarity. The excess can be easily removed with a clean brush dampened with thinner.
If Panel Line Washes are products that can be easily replaced by thinning oil paints, I must admit that I was very pleasantly surprised by the AK Interactive Winter Streaking Grime. Given that this is officially a product intended for weathering armored vehicles, I opted for this product judging the effect suitable for my aircraft. With a facility honestly unexpected, I simulated the dripping of dirt due to rain getting a result that I consider very good.
I concluded by adding the last missing elements and simulating with the airbrush the effect caused on the bottom of the fuselage by dust and soil raised during takeoff/landing as well as the blackening due to smoke expelled with the cartridges. At this point all that is left to do is to apply the opaque on this He-162 D. I will show the results of this last step in the next article.
