
Dopo il recentissimo articolo datato 5 dicembre, è con grande piacere che torno a parlare del mio He-162 D con un aggiornamento finalizzato a mostrare il modello con applicate le decal che compongono l’araldica del velivolo. Trattandosi di una versione del tutto ipotetica del caccia He-162, mi sono permesso alcune variazioni fantasiose degli stemmi applicati sull’aereo. Ciononostante, non ho tradito la realtà storica che dovrebbe sempre stare alla base di qualunque modello, anche di quelli tratti da un semplice progetto. In altre parole, ho apposto sul mio He-162 D le insegne e le diciture tipiche degli He-162 A entrati in servizio attivo; mi sono solo preso qualche piccola libertà per quanto concerne gli stemmi dell’ipotetico squadrone di appartenenza.
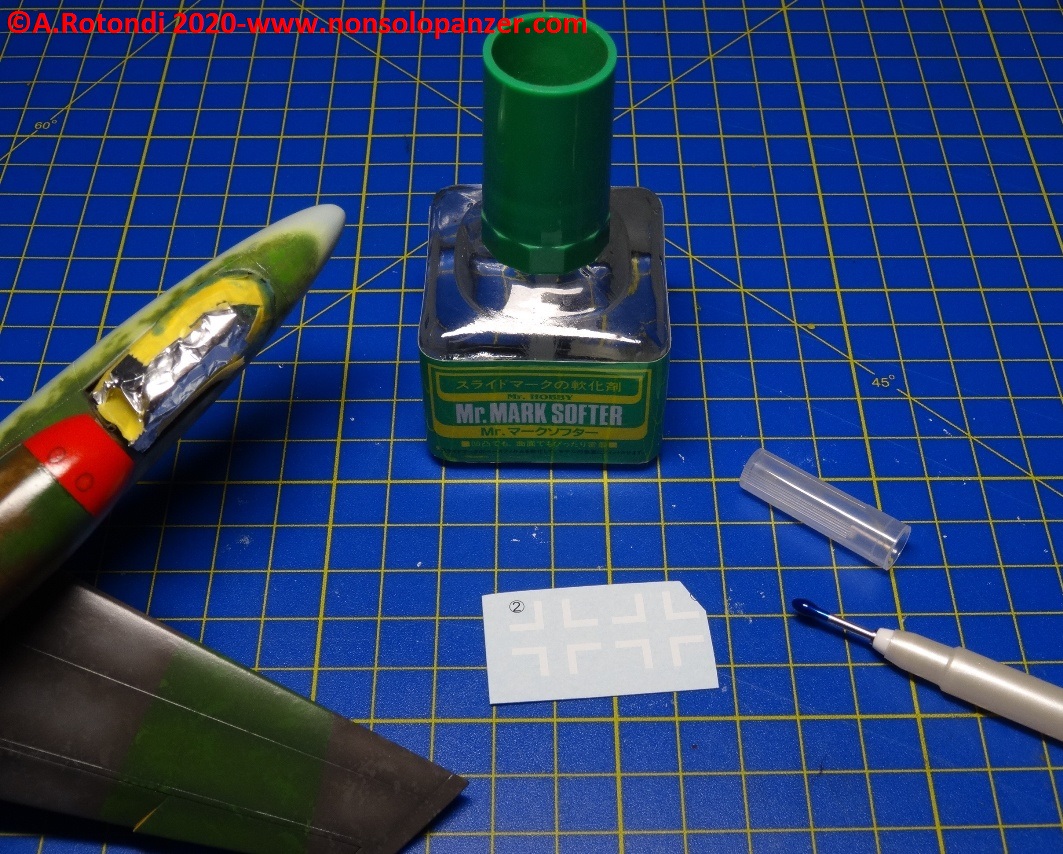
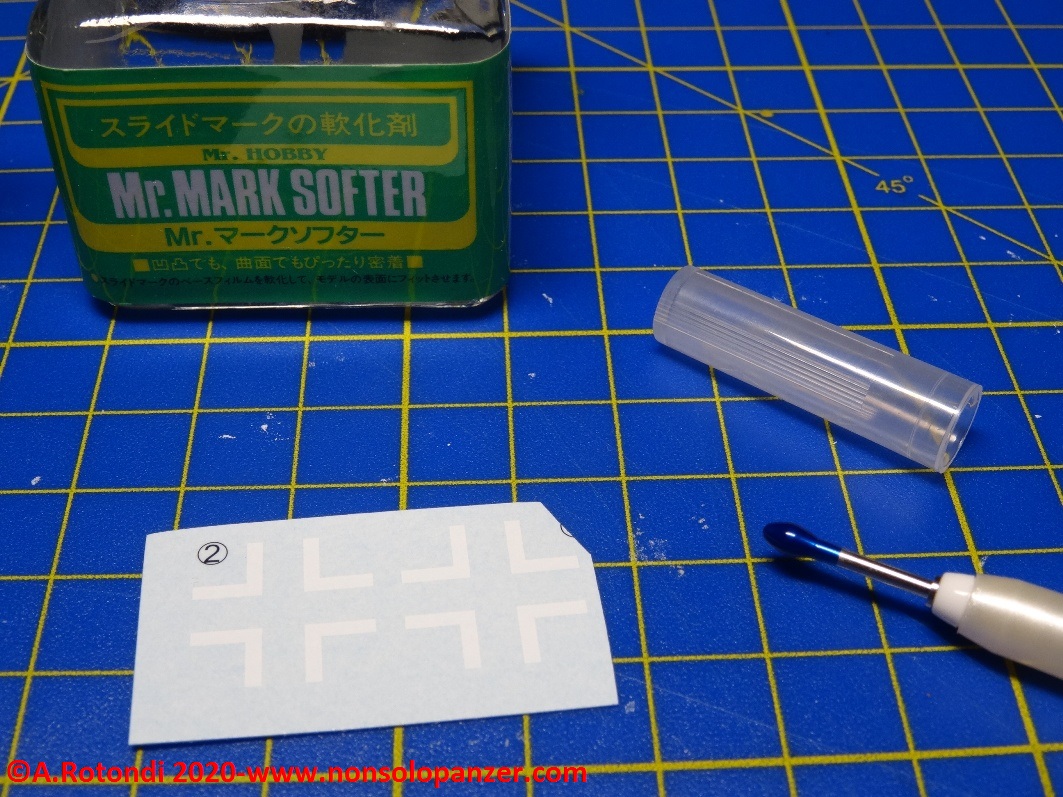
Ma andiamo con ordine. Come usuale al momento di apporre qualsivoglia decal, è necessario aver steso sul modello una mano di trasparente lucido allo scopo di offrire una buona base di aderenza alle decal. Queste ultime devono essere applicate utilizzando un Softer in modo che aderiscano perfettamente alla superficie. Un seconda mano di trasparente lucido permette di protegge le decal dai successivi lavori di invecchiamento e, soprattutto, di cancellare lo spessore delle stesse. In teoria quest’ultimo effetto si ottiene al momento del passaggio finale ad aerografo di un coprente opaco; operazione assai delicata e spesso foriera di sorprese sgradite, speriamo tutto vada per il meglio anche in tale futura fase.
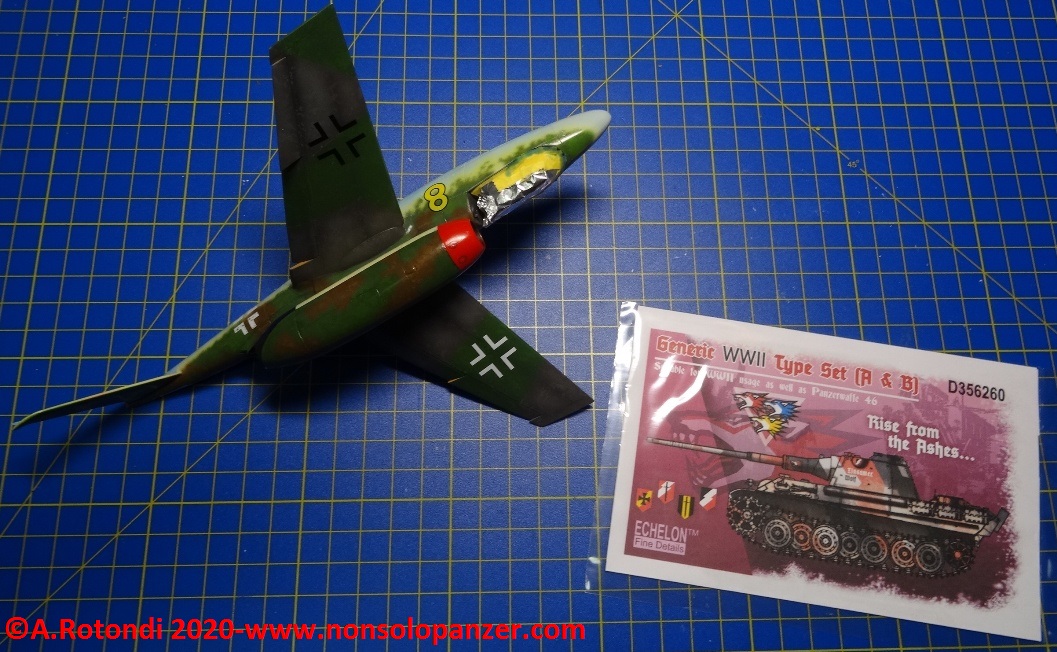
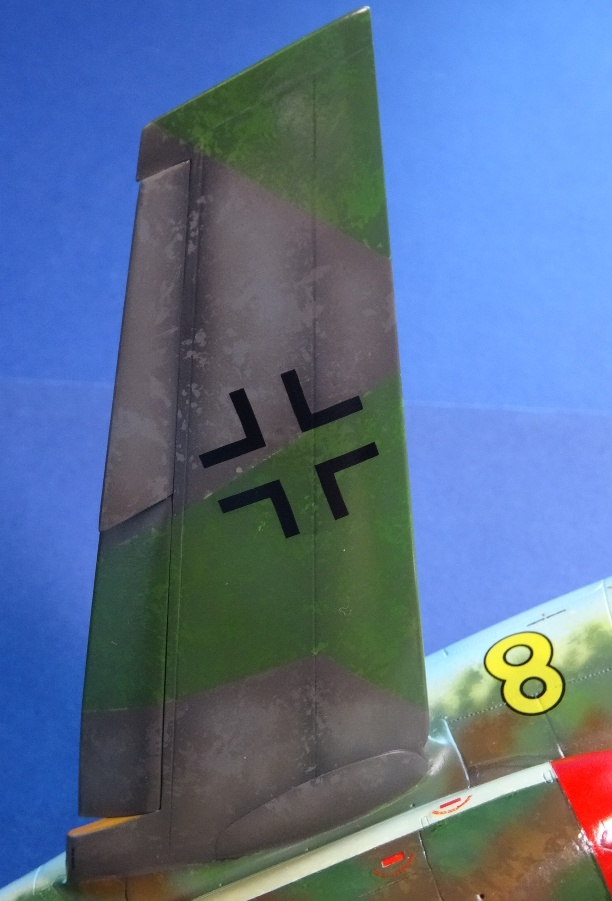
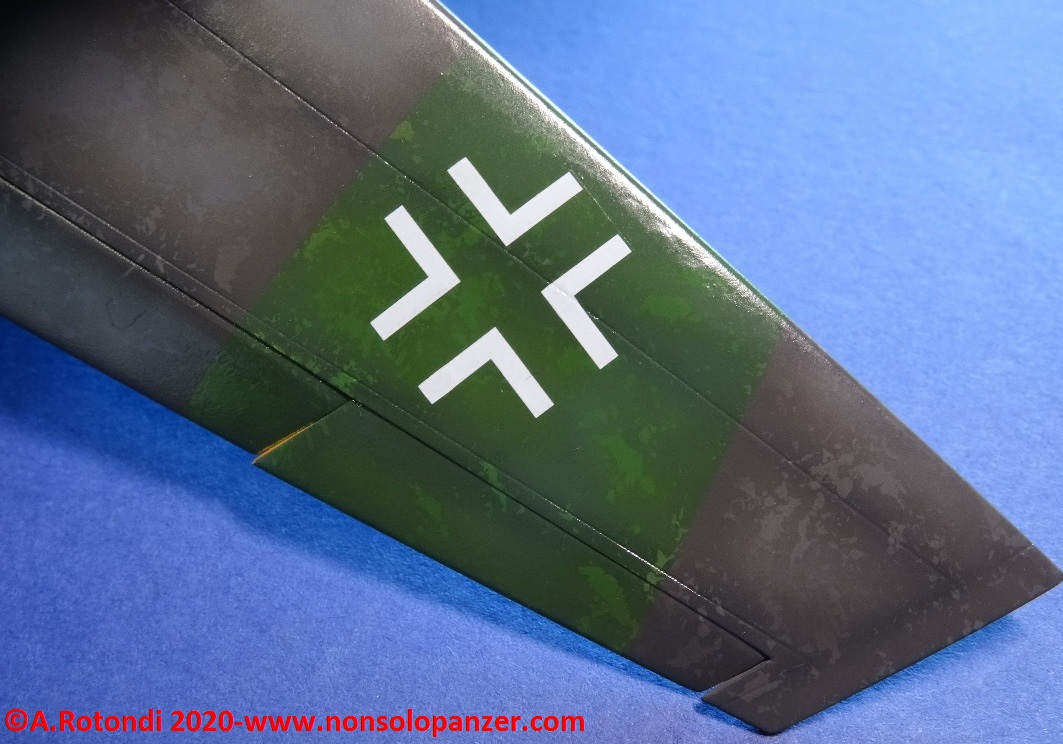
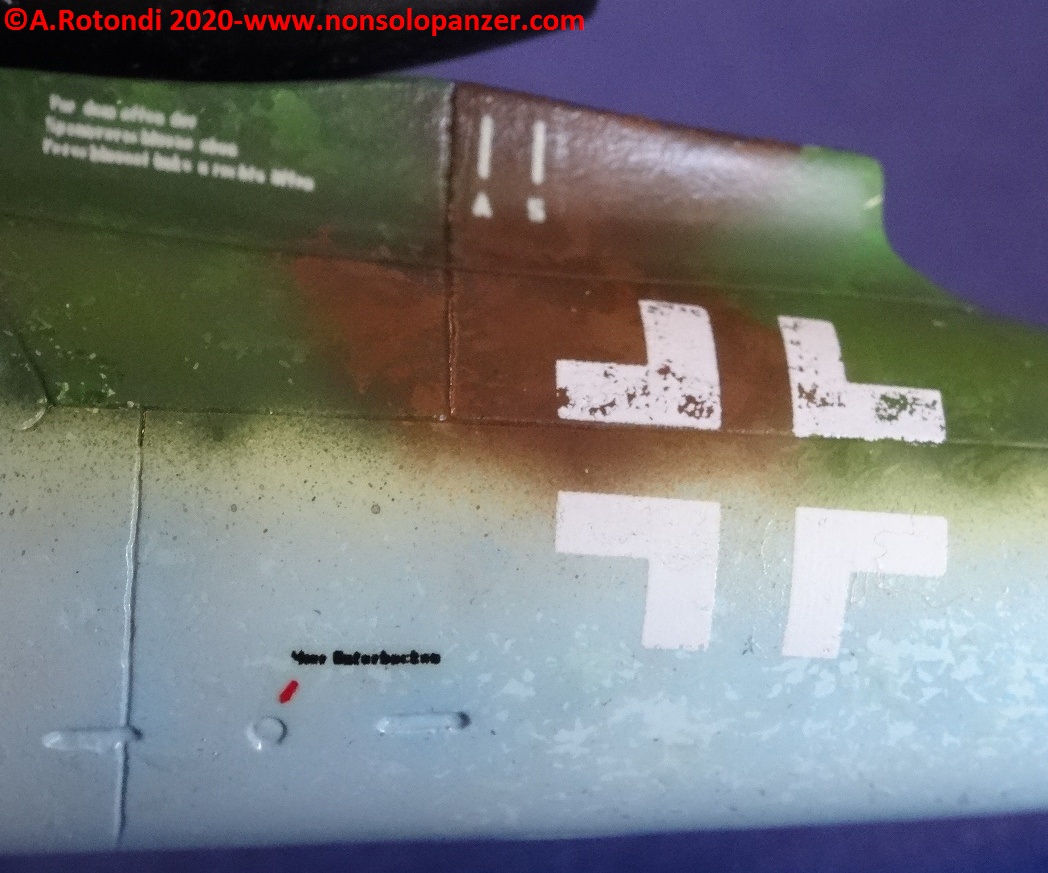
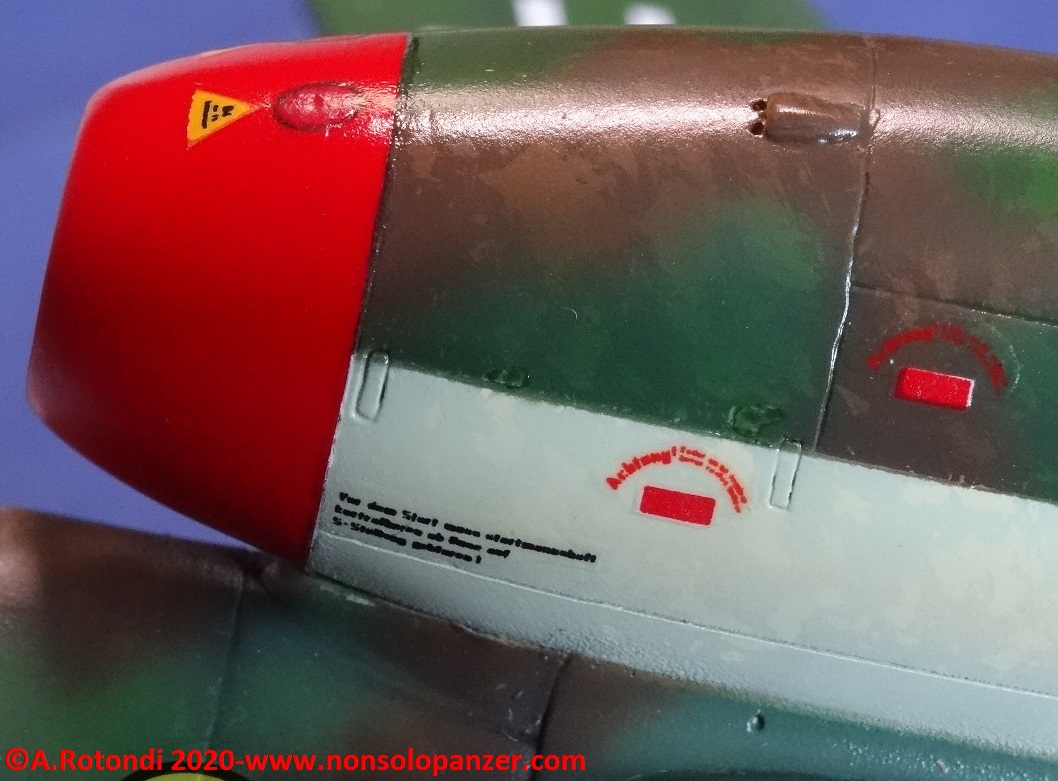
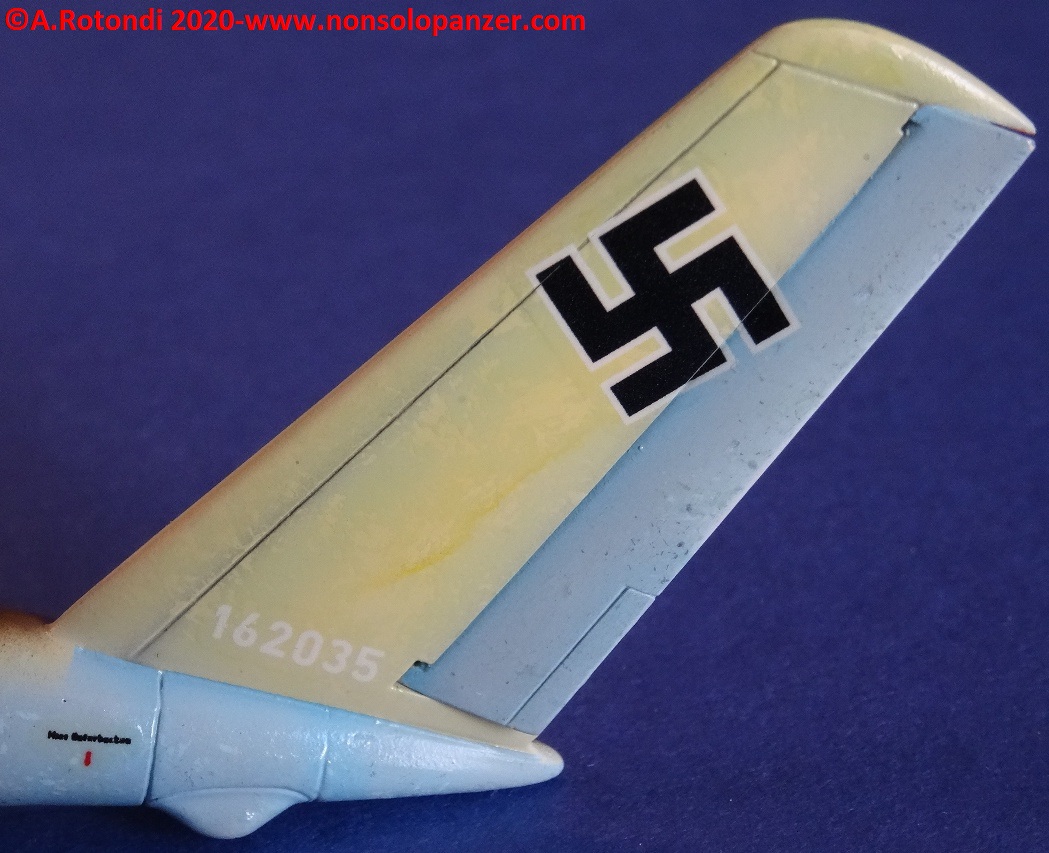
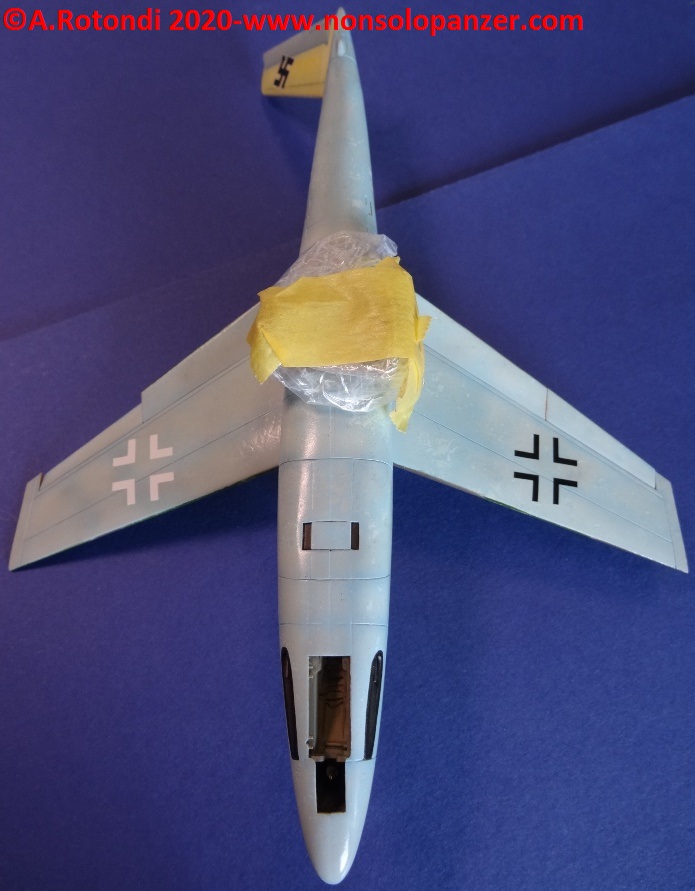
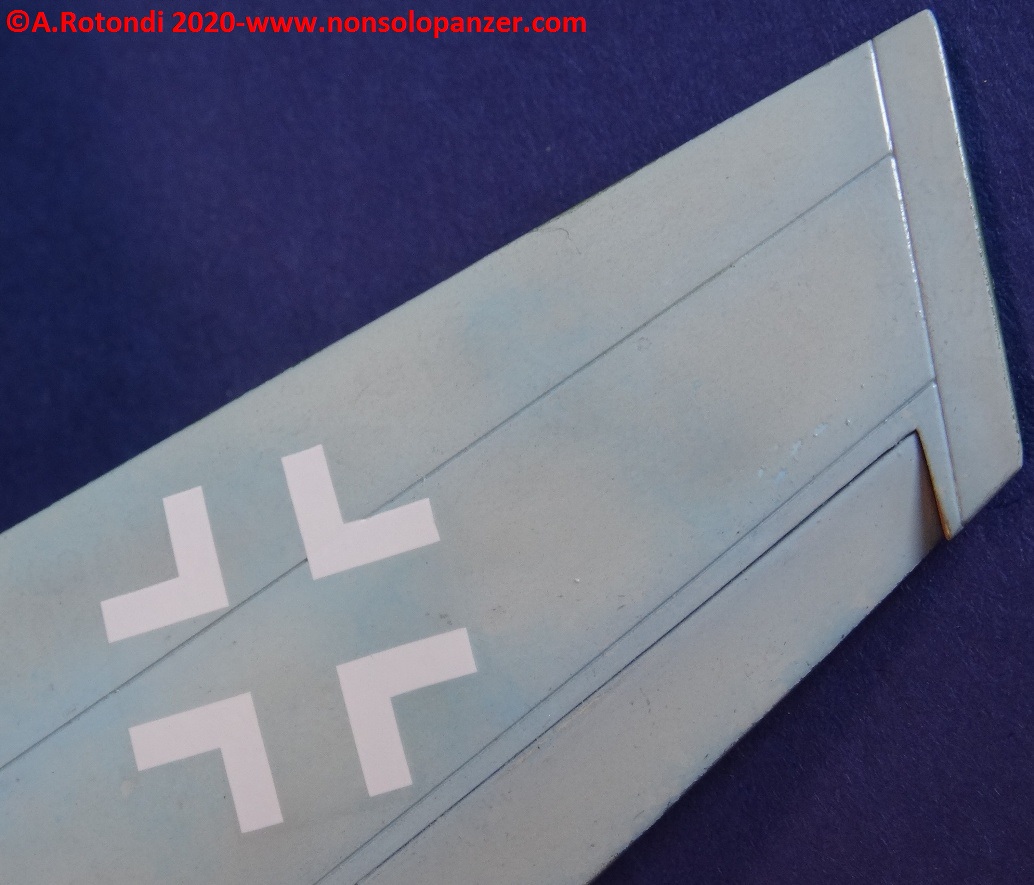
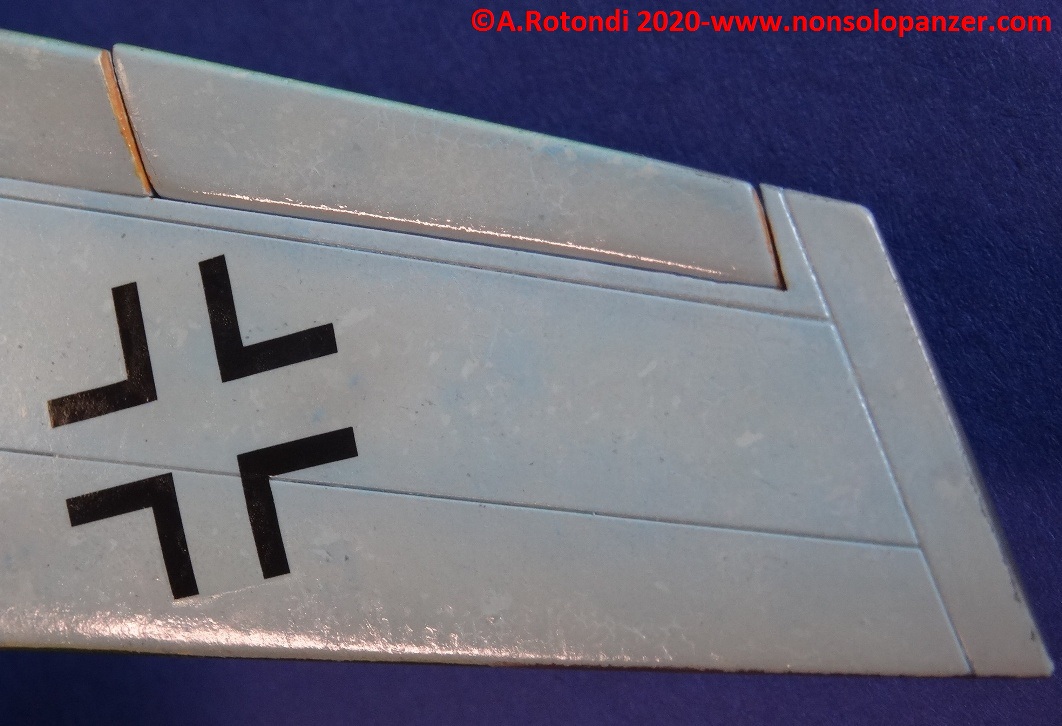
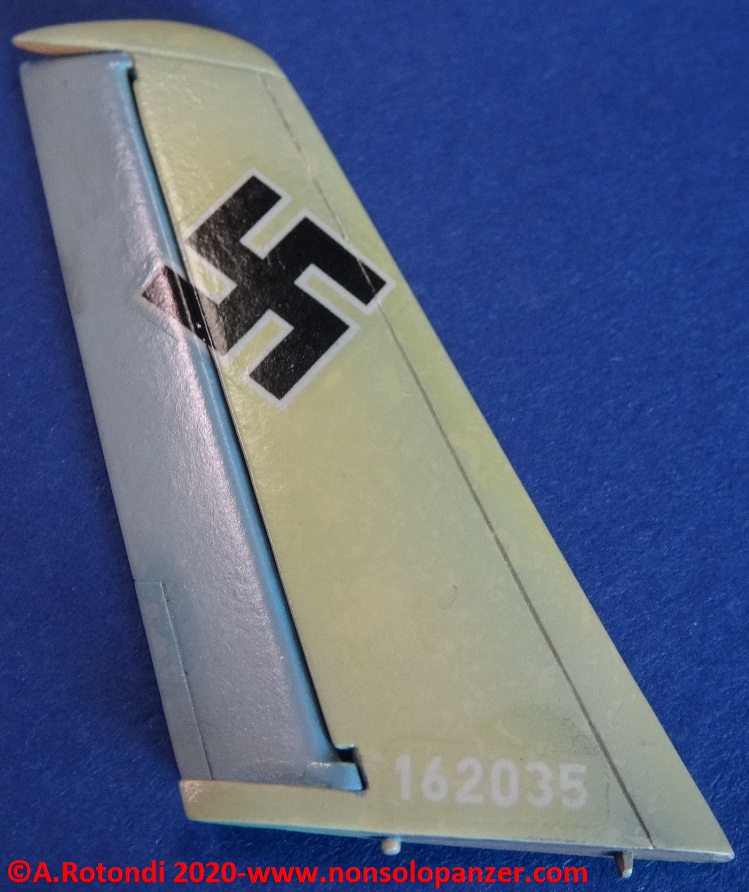
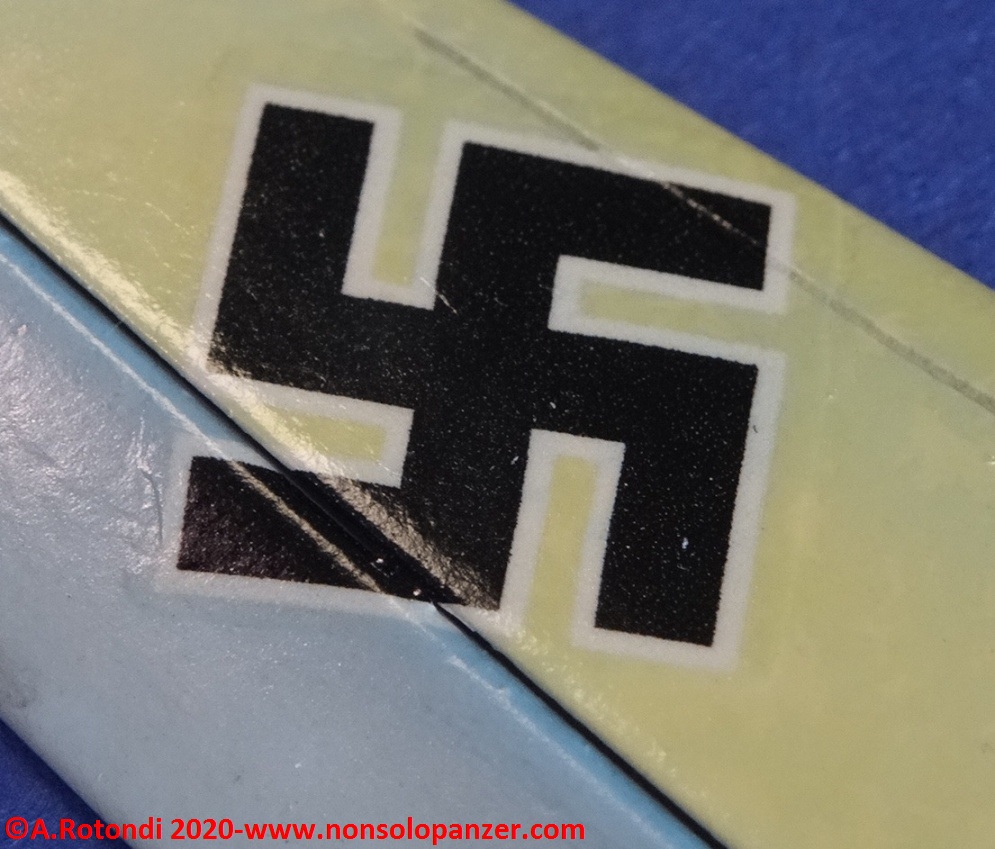
Ciò premesso, le foto qui pubblicate mostrano il risultato finale ottenuto dal processo sopra descritto. Segnalo due cose importanti: (i) considerato l’effetto “peeling” della mimetica da me ottenuto con grande fatica, è evidente che decal cromaticamente perfette stonino nel contesto complessivo dell’aereo. Essendo impossibilitato alla pittura a mano/aerografo di ogni stemma, cercherò di smorzare un poco l’uniformità cromatica delle decal in fase di invecchiamento; (ii) le Balkenkreuz apposte sulla parte finale della fusoliera non sono decal ma vecchi stencil della Verlinden; proprio a causa dell’anzianità (circa 30 anni) parte degli stencil non ha aderito alla superficie dell’aereo creando un effetto usura che, anche se eccessivo, è in sintonia con l’aspetto generale del velivolo.
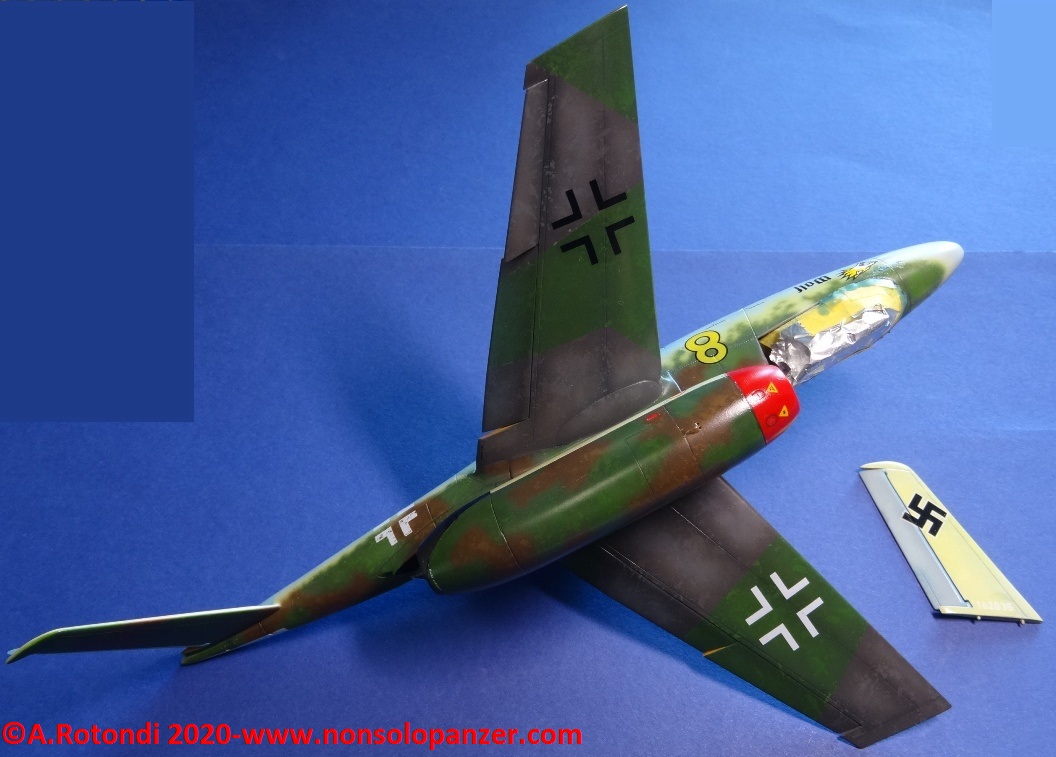
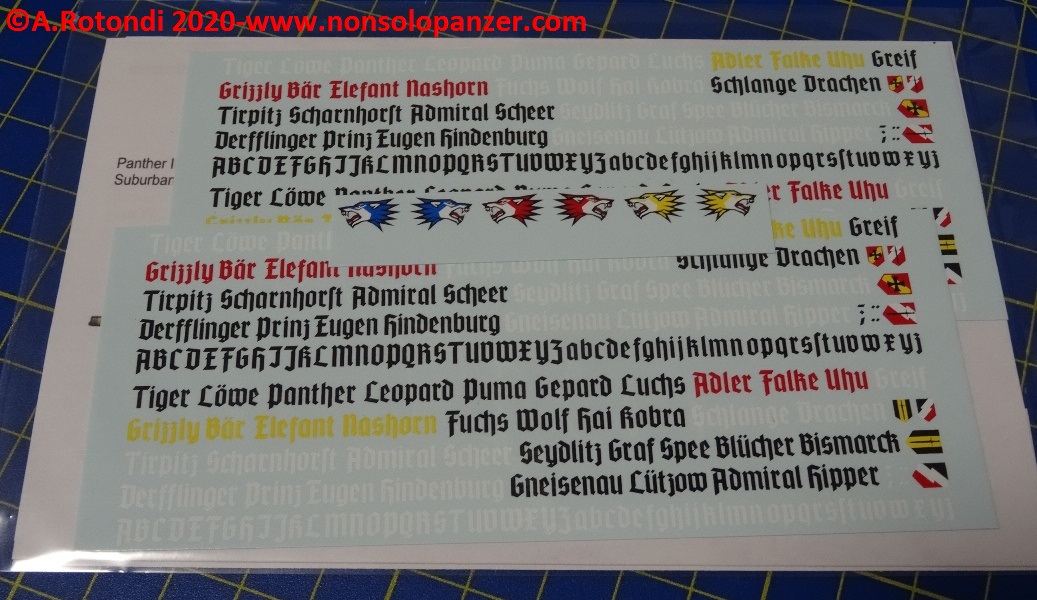
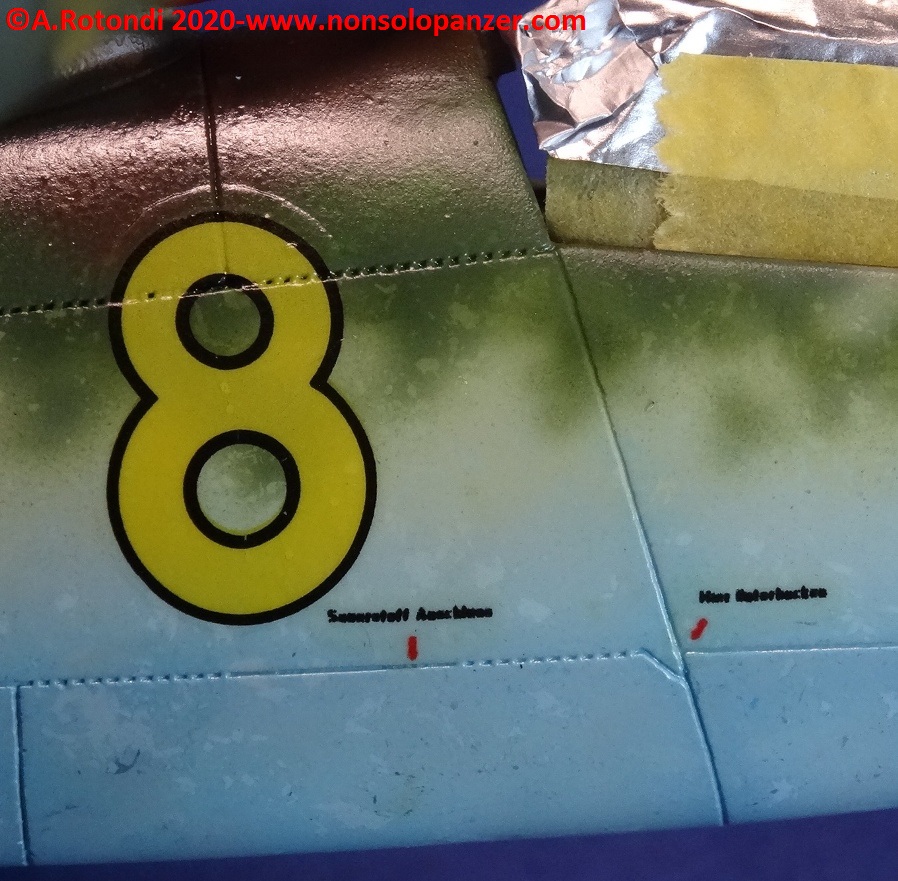
Lo stemma certamente più appariscente è quello di un lupo sul muso dell’aereo. Ho recuperato tale insegna da un set che Echelon Fine Decals ha realizzato per i carri della Panzerwaffe in un ipotetico 1946. Ho ipotizzato tale lupo come simbolo identificativo di un ipotetico Jagdgeschwader i cui tre Staffel sono distinti dal colore del lupo. Ho immaginato il giallo come il colore del 3.Staffel e, coerentemente, ho scelto il colore giallo anche per il numero identificate l’aereo. Ho, quindi, aggiunto la parola “Wolf” giocando di fantasia ed immaginando che il cognome del pilota di questo He-162 D coincida con il nome dello Jagdgeschwader in cui presta servizio e, quindi, lo abbia fatto dipingere sull’aereo.


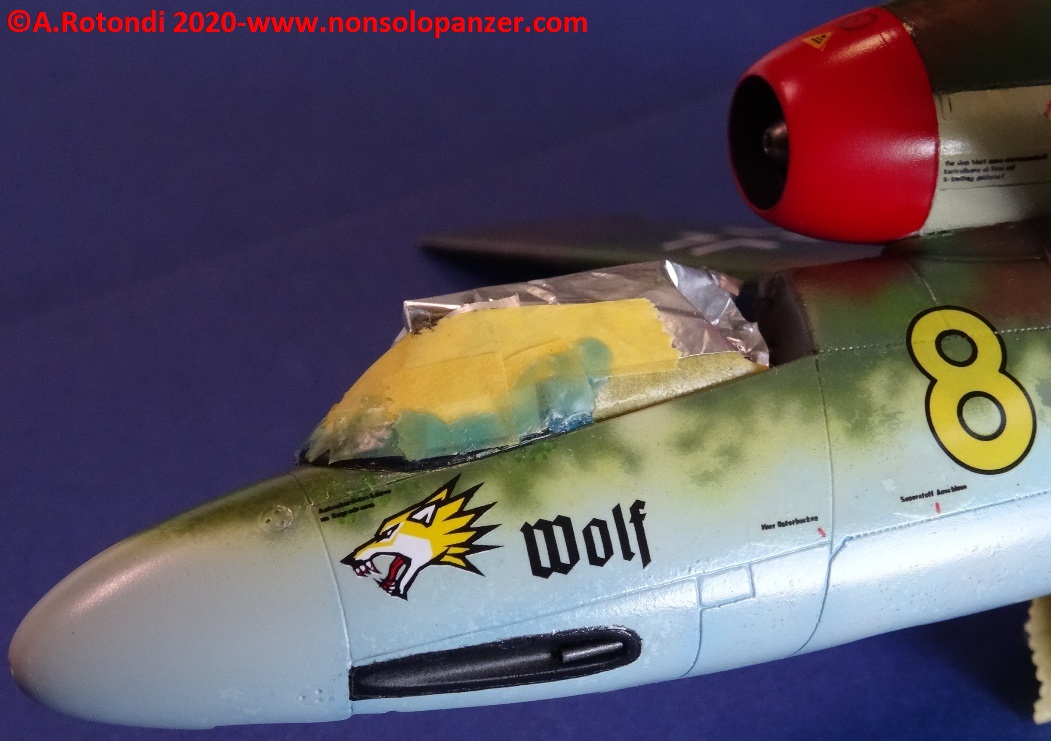
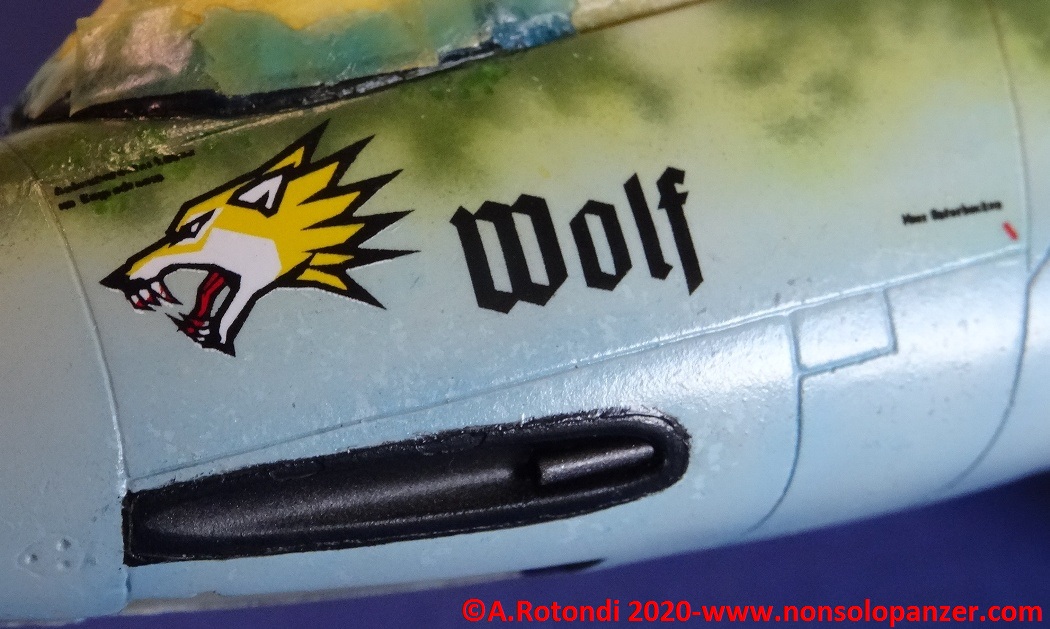

Faccio presente che, benché del tutto fantasiosi, gli stemmi sono apposti nelle stesse posizioni di quelli realmente applicati sui He-162 A dello Jagdgeschwader 1. Proprio per tale motivo, la scritta “Wolf” non compare sul lato desto del caccia ma solo su quello sinistro.

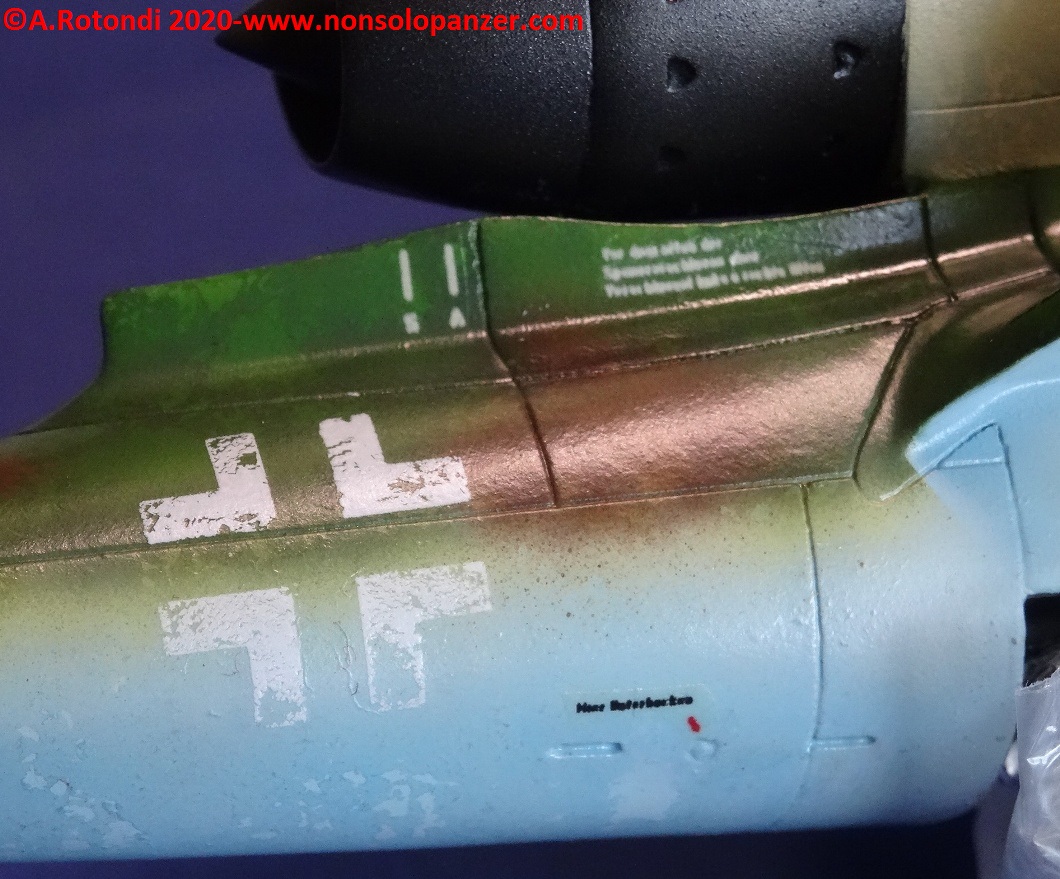
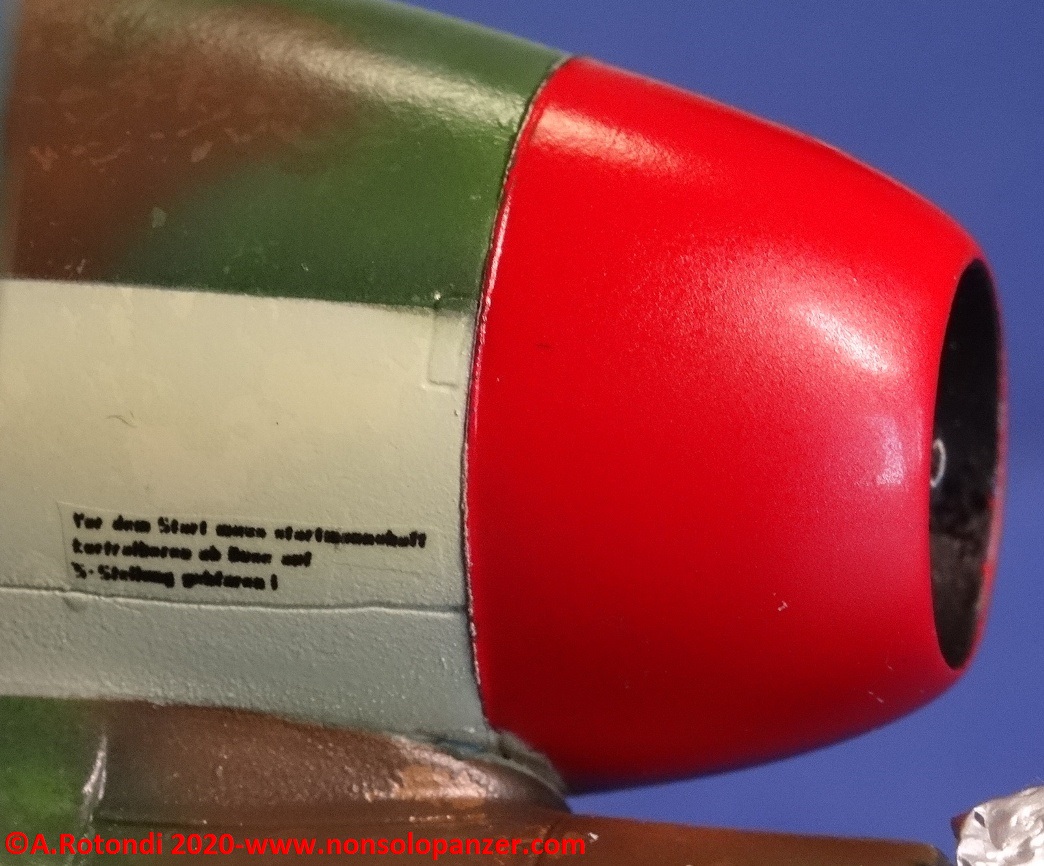
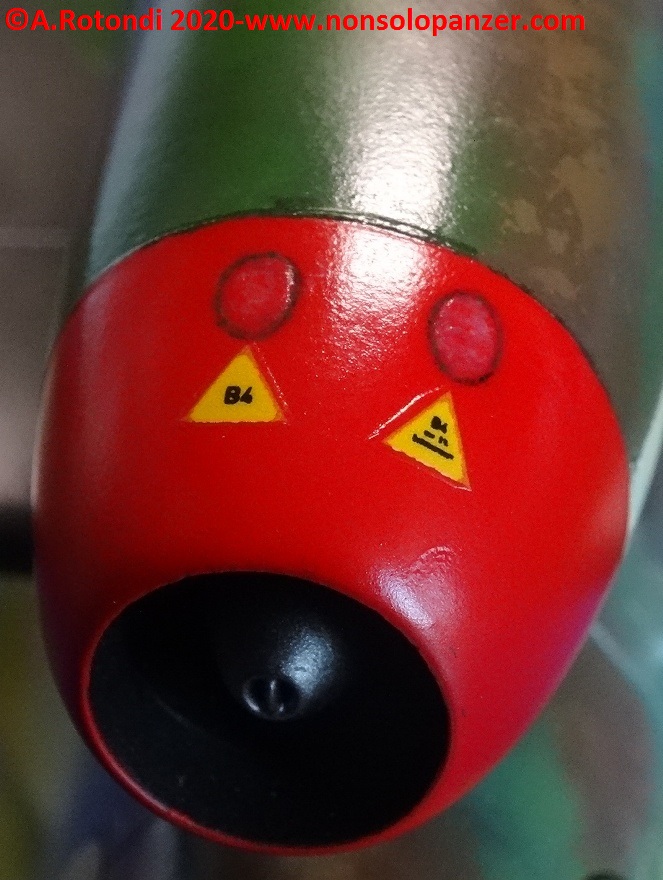
Per rafforzare il fatto che il mio He-162 D sia equipaggiato con un motore Jumo-004 al posto dell’usuale BMW-003, ho applicato sul propulsore le insegne di manutenzione tipiche dello Jumo-004, compresi i punti (in questo caso, fittizi) per l’appoggio dei piedi.
Concludo segnalando che il foglio decal incluso nel kit di questo He-162 D è semplicemente imbarazzante. Mancano tutte le diciture tecniche e di manutenzione che venivano apposte sugli He-162 A e che non hanno motivo di mancare su questa versione dello stesso caccia. La cosa è ancor più inaccettabile considerando che Dragon Models ha commercializzato un proprio kit dell’He-162 A, sarebbe quindi bastato prendere il set completo di decal usato in quest’ultimo per inserirlo anche nel kit dell’He-162 D. Pochi centesimi di costo aggiuntivo ha probabilmente indotto ad una scelta diversa. Ho bypassato il problema andando a recuperare il foglio decal dell’He162 A Dragon montato quando ero ragazzino e rimasto inutilizzato per varie ragioni. Purtroppo si tratta di decal vecchie di notevole spessore e leggermente ingiallite; mi auguro non si veda troppo a lavoro finito.
Non mi resta che procedere con il processo di invecchiamento. Lavoro su cui non mancherò di postare opportuni aggiornamenti.
English Language
After the recent article dated December 5th, it is with great pleasure that I return to talk about my He-162 D with an update aimed to show the model with the decals. As this is a completely hypothetical version of the He-162 fighter, I allowed myself some imaginative variations of the badges applied on the plane. Nonetheless, I have not betrayed the historical reality that should always be the basis of any model, even those taken from a simple project. In other words, I have placed on my He-162 D the insignia and wordings typical of the He-162 A entered into active service; I just took a few small liberties with regard to the insigna of the hypothetical squadron to which it belongs.
As usual at the time of applying any decal, it is necessary to have spread on the model a glossy clear coat in order to provide a good base of adherence to the decals. The decals must be applied using a Softer for a perfect adherence to the surface. A second glossy clear coat allows to protect the decals from the following works and, above all, to erase the thickness of the decals. Theoretically this last effect is obtained at the moment of the final airbrush application of a opaque topcoat; a very delicate operation and often a harbinger of unpleasant surprises, I hope everything goes well in this future phase.
Having said that, the photos published here show the final result obtained from the process described above. I would like to point out two important things: (i) considering the “peeling” effect of the camouflage that I obtained with great effort, it is evident that chromatically perfect decals are unpleased. I will try to reduce the chromatic uniformity of the decals during the weathering process; (ii) the Balkenkreuz on the final part of the fuselage are not decals but old Verlinden stencils; due to their age (about 30 years) part of the stencils did not adhere to the surface of the aircraft creating a wear effect that, even if excessive, is in harmony with the general appearance of the aircraft.
The certainly most remarkable insignia is that of a wolf on the nose of the aircraft. I recovered this insignia from a set that Echelon Fine Decals made for Panzerwaffe tanks in a hypothetical 1946. I hypothesized such a wolf as the identifying symbol of a hypothetical Jagdgeschwader whose three Staffel are distinguished by the color of the wolf. I imagined yellow as the color of the 3.Staffel and, consistently, I chose the color yellow also for the number identifying the aircraft. I have, therefore, added the word “Wolf” playing with fantasy and imagining that the surname of the pilot of this He-162 D coincides with the name of the Jagdgeschwader in which he serves and, therefore, he painted it on the aircraft. I would like to point out that, although completely fanciful, the insignias are placed in the same positions as those actually applied on the He-162 A of Jagdgeschwader 1. Precisely for this reason, the inscription “Wolf” does not appear on the right side of the fighter but only on the left side.
To reinforce the fact that my He-162 D is equipped with a Jumo-004 engine instead of the usual BMW-003, I affixed typical Jumo-004 maintenance insignia to the thruster, including (in this case, fictitious) the points for foot support.
The decal sheet included in the kit of this He-162 D is simply embarrassing. It lacks all the technical and maintenance markings that were affixed to the He-162 A and that have no reason to be missing on this version of the same fighter. This is even more unacceptable considering that Dragon Models has marketed its own kit of the He-162 A, so it would have been sufficient to take the complete set of decals used in the latter to include it in the kit of the He-162 D. A few cents of additional cost has probably led to a different choice. I bypassed the problem by retrieving the decal sheet of the He162 A Dragon assembled when I was a kid and remained unused for various reasons. Unfortunately, these are old decals of considerable thickness and slightly yellowed; I hope it will not show too much when the work is finished.
